You're probably noticing something about this picture: This cheesecake says pumpkin, but its color isn't orange. Your observation is correct, so go ahead and pat yourself on the back. Of all the pumpkin cheesecakes I've had, this is hands down my favorite. Why? Because it's cheesecake with pumpkin in it instead of what seems to be pumpkin pie with a bit of cheese to change the name. It's just personal preference, but I enjoy cheesecake with other flavors added, not the other way around. This recipe is perfect - a blend of cheesecake, fall spices, and a hit of pumpkin. Its flavor is solid and its texture creamy. My friends who got to enjoy it with me confirmed that this is indeed a keeper, so I know I'll smell it baking in my kitchen again this fall.
(On glass base from Springform Pan)
 Graham crackers don't stand a chance against the Manual Food Processor. This tool makes the chopping quick and simple with little mess. Just stick the base and blade in the dishwasher when you're finished, and give the top a little wipe.
 Real butter + graham cracker crumbs + ginger = fabulous crust. This is coming together in a Stainless Mixing Bowl, and I'm using the Small Batter Bowl to pour the butter. As always, I let this sit in the oven while it preheated, and my butter and I were ready for this step at the same time. That's the Stainless Whisk in the bowl and the Large Cutting Board underneath.
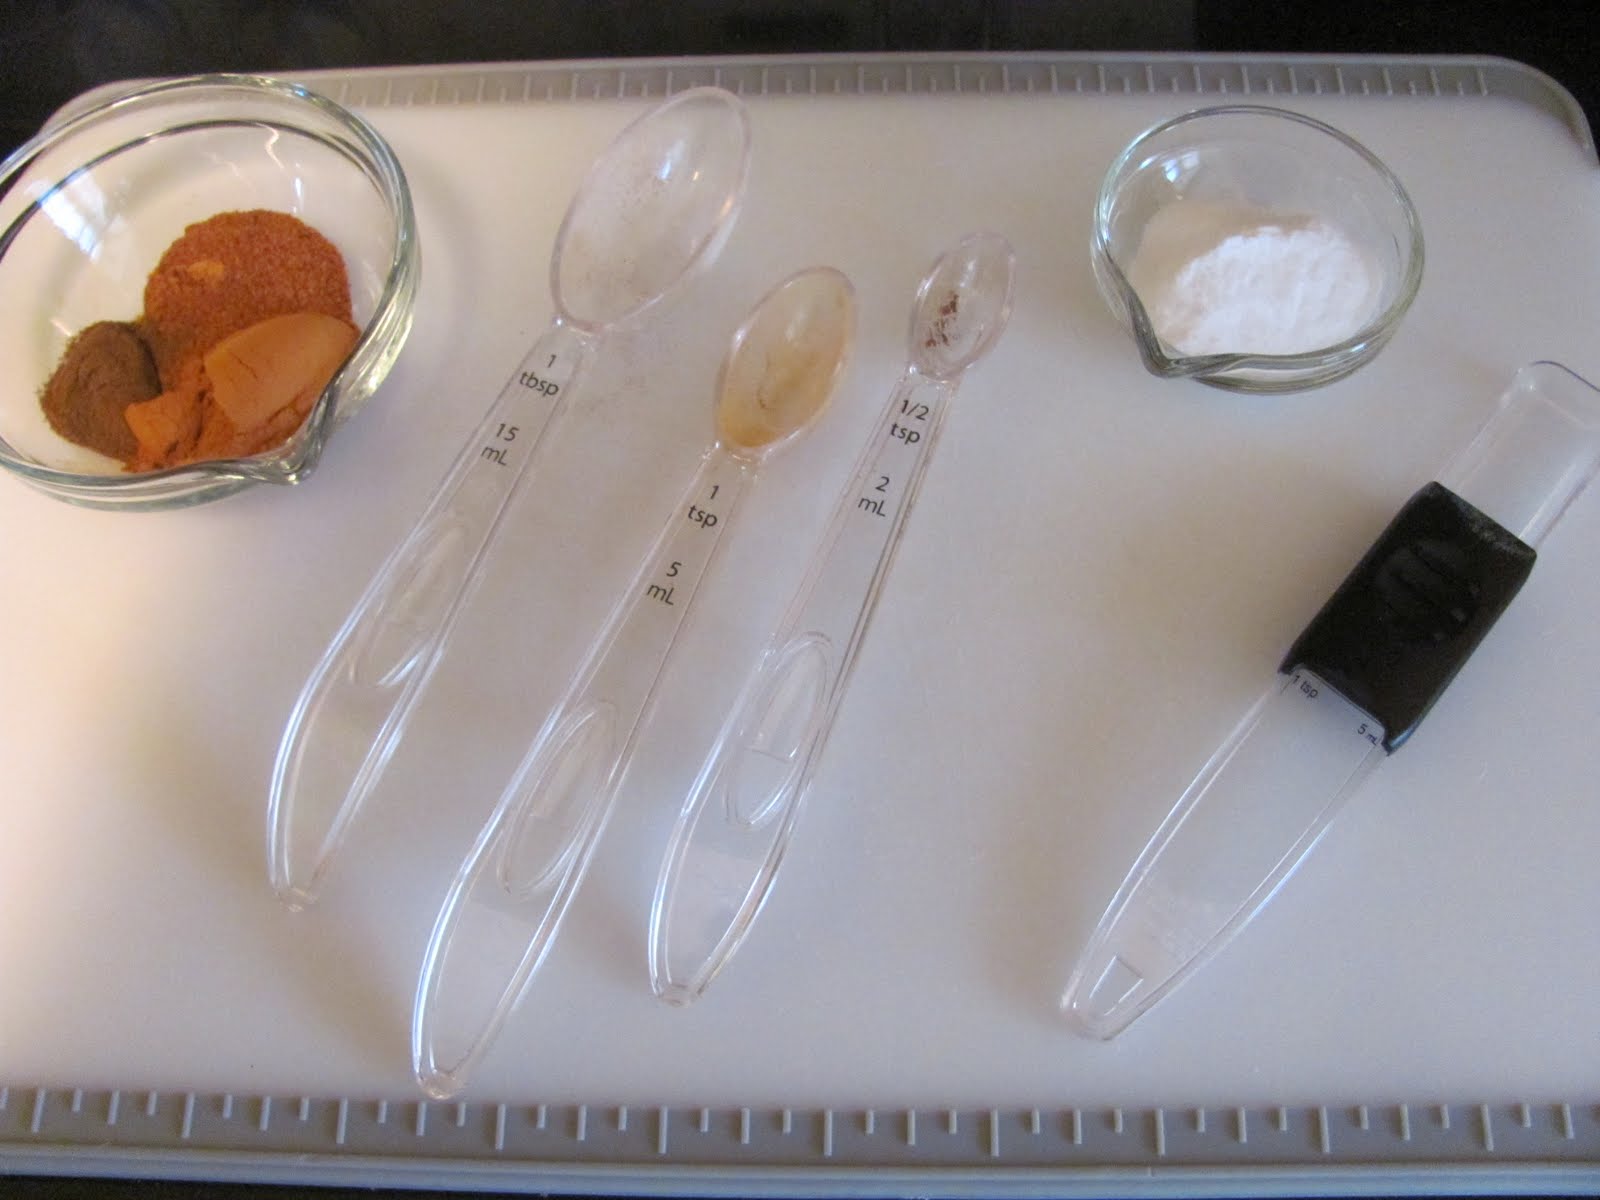
 Crust is in the Springform Pan, and everything else is on the Cutting Board. My spice blend (hello, cardamom!) is in a Pinch Bowl, and brown sugar is in a 1-Cup Prep Bowl with a Measuring Spoon. The Measure-All Cup has the sour cream and the pumpkin.
 Hello, Sexy Sunbeam MixMaster! This thing still works as well as it did when my grandmother got it in 1954. Anyone for whipping potatoes? Level six.
 Cheesecake has a reputation for being difficult, and it's legitimate. If your ingredients aren't ready, you're not going to get good results. Here's a tip: Have room temperature eggs. It's a given that your cream cheese needs to be softened, but the eggs will blend better if they're not straight from the fridge. When the recipe says blend them one at a time, take the extra minute to make this happen. Crack eggs one at a time in a 1-Cup Prep Bowl to make sure there's no blood and no shell. This batter is your entire recipe, and it's worth making it correctly. No shortcuts? Deal.
 The Springform Pan is ready to go in the oven. What is just a big glob of cream cheese, pumpkin, and a few other things is about to become one of the best fall desserts known to man. This Springform Pan is obviously wonderful for cheesecake, but it can be used for other things as well. How about deep dish pizza or a 1-layer cake? Snap the collar off, and you've got a beautiful presentation on the glass base. So versatile!
Pumpkin Cheesecake
chefjennylyn.com
2 cups graham cracker crumbs
2 tsp ginger
6 Tbsp butter, melted
2 pounds cream cheese
1 cup sugar
1/4 cup brown sugar
1/2 tsp cinnamon
1/2 tsp nutmeg
1/2 tsp cardamom
4 large eggs
1/2 cup sour cream
1/2 cup pumpkin purée
Preheat the oven to 450 degrees. Crush 2 cups worth of graham crackers into a medium bowl. Stir in the ginger, and then stir in the melted butter so that the mixture becomes moist.
Press the crust into the bottom and slightly up the sides of a 9″ springform pan. Stick the pan in the freezer while you make the cheesecake batter so that the butter will firm up the crust.
In a large bowl, beat the cream cheese until fluffy, about 2 minutes. Beat in the sugars and spices. Add in the eggs one at a time, beating well after each addition. Beat in the sour cream and pumpkin.
Pour the batter into the graham cracker crust and smooth out on the top.
Bake 15 minutes, and then open the oven door and lower the temperature to 200 degrees. Close the door and continue baking for about an hour longer or until the edges of the cheesecake set but the center still wiggles when the pan is shaken. Cool the cheesecake on a rack and then refrigerate at least 3 hours before serving. Serve drizzled with warm caramel sauce.
(Recipe originally from Sugarcrafter)
 Graham crackers don't stand a chance against the Manual Food Processor. This tool makes the chopping quick and simple with little mess. Just stick the base and blade in the dishwasher when you're finished, and give the top a little wipe.
 Real butter + graham cracker crumbs + ginger = fabulous crust. This is coming together in a Stainless Mixing Bowl, and I'm using the Small Batter Bowl to pour the butter. As always, I let this sit in the oven while it preheated, and my butter and I were ready for this step at the same time. That's the Stainless Whisk in the bowl and the Large Cutting Board underneath.
 Crust is in the Springform Pan, and everything else is on the Cutting Board. My spice blend (hello, cardamom!) is in a Pinch Bowl, and brown sugar is in a 1-Cup Prep Bowl with a Measuring Spoon. The Measure-All Cup has the sour cream and the pumpkin.
 Hello, Sexy Sunbeam MixMaster! This thing still works as well as it did when my grandmother got it in 1954. Anyone for whipping potatoes? Level six.
 Cheesecake has a reputation for being difficult, and it's legitimate. If your ingredients aren't ready, you're not going to get good results. Here's a tip: Have room temperature eggs. It's a given that your cream cheese needs to be softened, but the eggs will blend better if they're not straight from the fridge. When the recipe says blend them one at a time, take the extra minute to make this happen. Crack eggs one at a time in a 1-Cup Prep Bowl to make sure there's no blood and no shell. This batter is your entire recipe, and it's worth making it correctly. No shortcuts? Deal.
 The Springform Pan is ready to go in the oven. What is just a big glob of cream cheese, pumpkin, and a few other things is about to become one of the best fall desserts known to man. This Springform Pan is obviously wonderful for cheesecake, but it can be used for other things as well. How about deep dish pizza or a 1-layer cake? Snap the collar off, and you've got a beautiful presentation on the glass base. So versatile!
Big thanks to Tracy at Sugarcrafter for this great recipe! This and these Nutella Cupcakes are her creations, and I look forward to trying many more. I love people who can create wonderful baked goods, but I love them even more when they're willing to share the recipes.
Make cheesecake, not war.
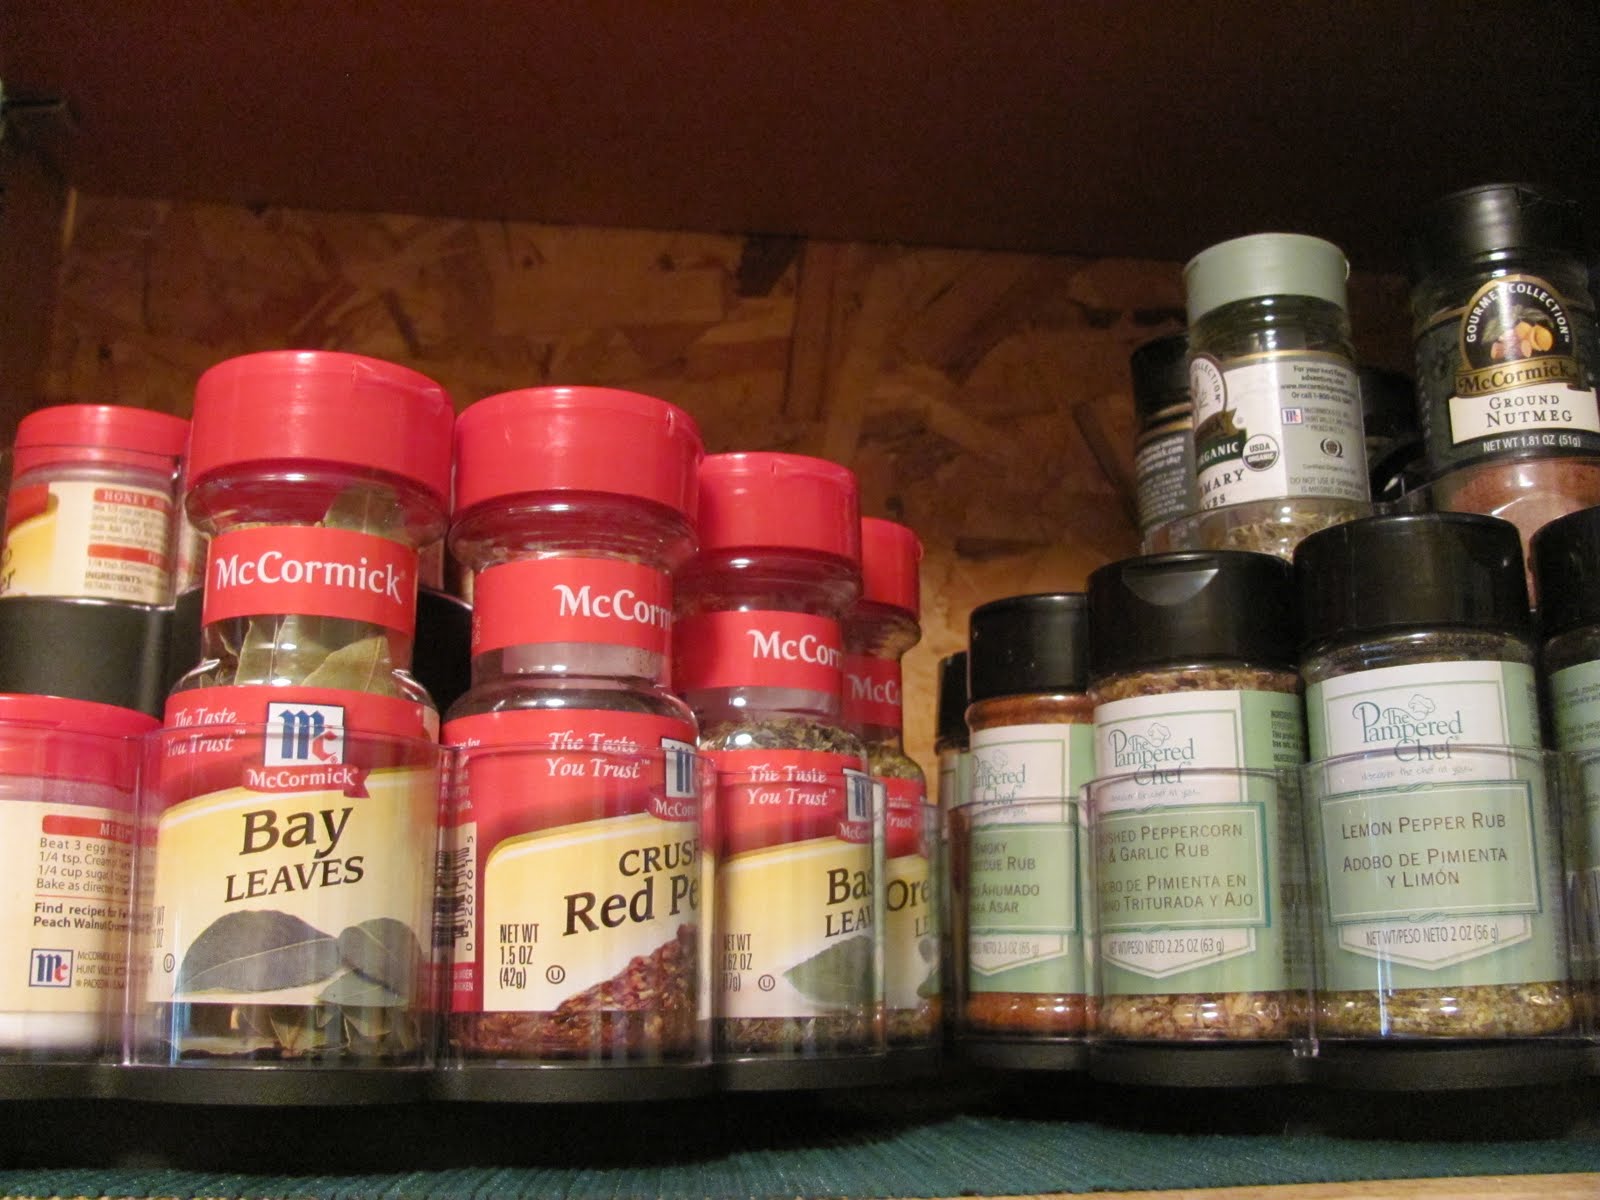
Like the products you saw used?
Shop Online 24/7 at pamperedchef.biz/jennylyn
E-mail me: chefjennylyn[at]gmail.com
Call me up: (205) 585-2464