Showing posts with label Scone. Show all posts

Thursday, October 20, 2011

Pumpkin Scones with Maple Glaze

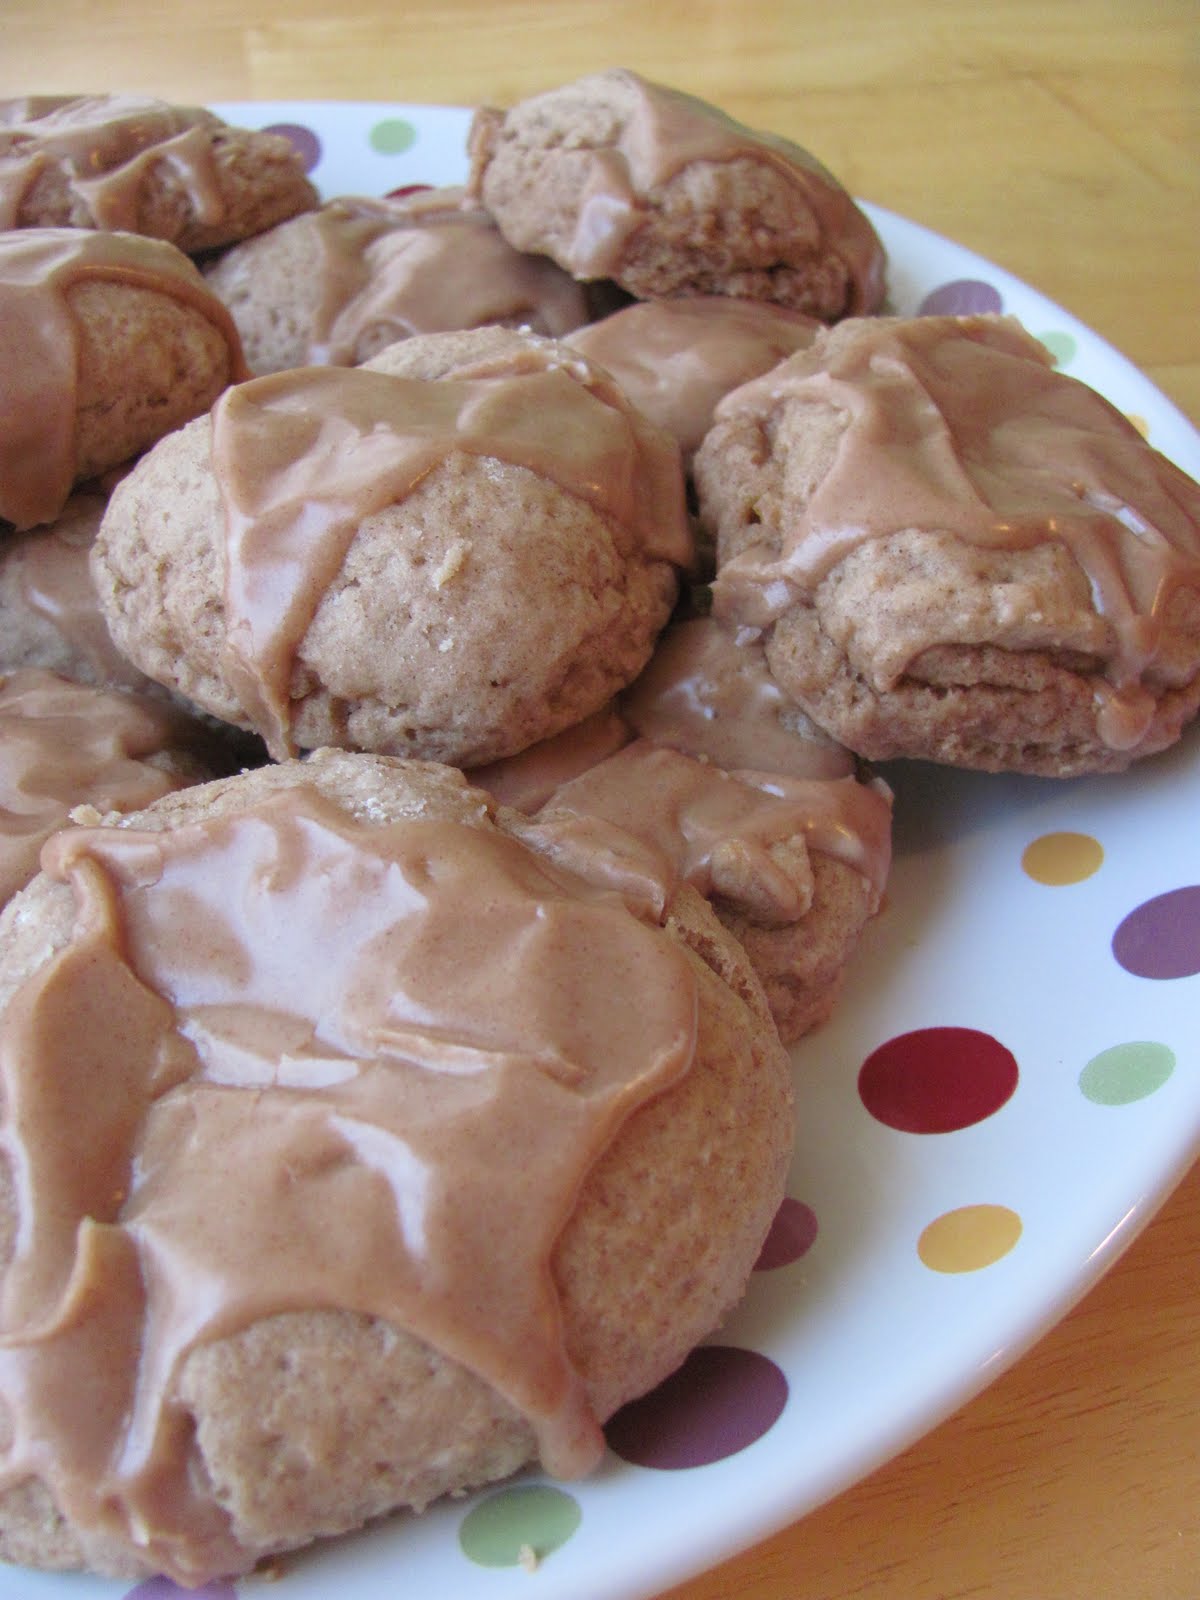
Drooling? Me, too. I used to hate scones, but that's because I'd only been exposed to a few with the texture of a dog biscuit. As I've expanded my horizons, I've come to realize scones are amazing when baked correctly, and there are all kinds of crazy things you can do with them. Things like stuffing them full of Oreos. If you have half a cup of pumpkin on hand, these scones will be a good decision. If you don't have half a cup of pumpkin, going to the store and getting it will be a good decision. Seriously, do it.

(Displayed on pedestal from Trifle Bowl)

Pumpkin Scones with Maple Glaze
chefjennylyn.com

2 cups all-purpose flour
1/2 cup sugar
1 tablespoon baking powder
1/2 teaspoon salt
1/2 teaspoon ground cinnamon
1/2 teaspoon ground nutmeg
scant 1/4 teaspoon ground cloves
1/4 teaspoon ground ginger
6 tablespoons cold butter
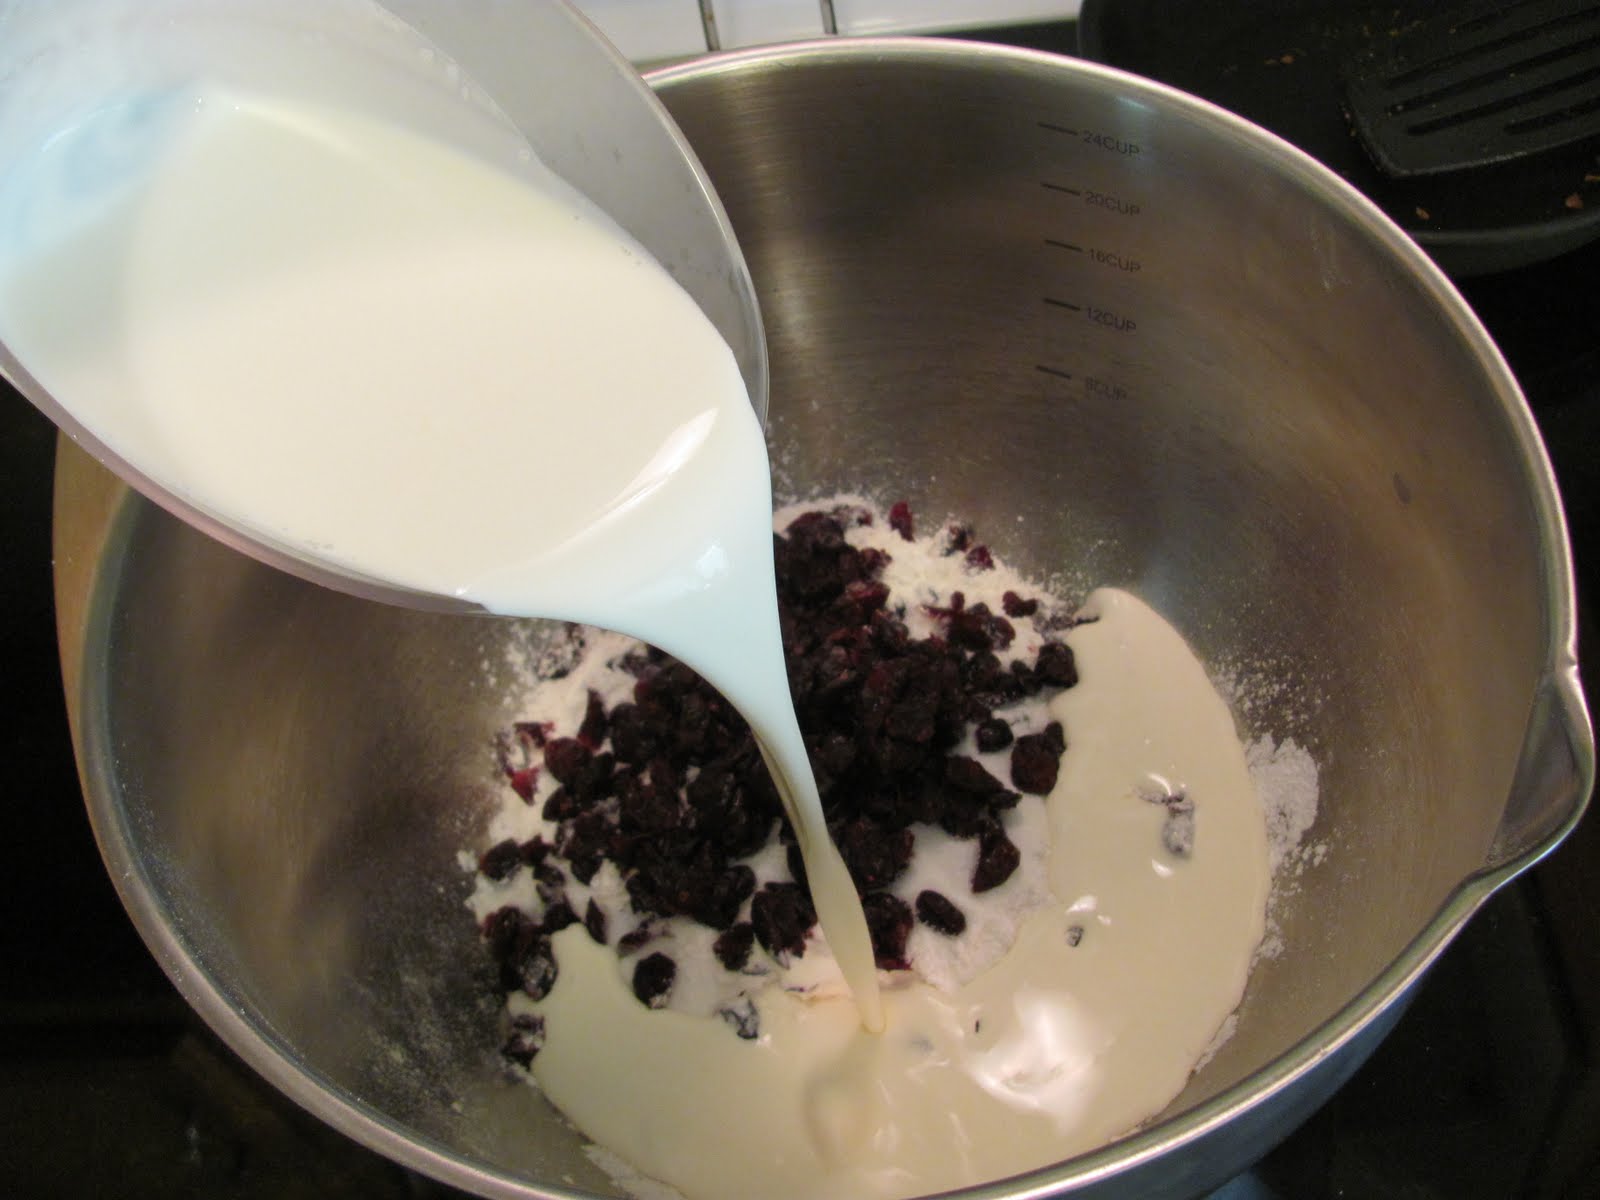
1/2 cup canned pumpkin
3 tablespoons buttermilk, plus a few extra teaspoons if the dough is too dry
1 large egg

Pre-heat the oven to 375 degrees.

Combine the flour, sugar, baking powder, salt, and spices in a large bowl. Using a pastry knife, fork, food processor or your hands, cut butter into the dry ingredients until mixture is crumbly and no chunks of butter are obvious. Set aside.

In a separate bowl, whisk together the pumpkin, buttermilk, and egg.
Fold the wet ingredients into the dry ingredients.

Form the dough into a ball. Cut in half. Pat out each dough ball onto a lightly floured surface and form them into 1-inch thick circles. Use a large knife or a pizza cutter to slice the dough into eighths. Place on prepared baking sheet.

Bake for 14 or 15 minutes. Scones should begin to turn light brown. Remove from oven and let cool on baking sheet. Makes 16 scones. (Jenny-Lyn's note: I made mine huge and only got 8.)

Maple Icing

1/4 cup butter
1/4 cup brown sugar
1/4 cup white sugar
1/4 cup heavy cream
2/3 cup powdered sugar
1 teaspoon maple flavor

In a large saucepan melt the butter, brown sugar, white sugar and heavy cream. Bring to a low boil, turn off heat and let sit for 20 minutes. Whisk and add in 2/3 cup powdered sugar and the vanilla. Whisk until smooth. Frost scones.


Let's start with the Smooth-Edge Can Opener. So many of my customers have purchased one for themselves and come back for more after using it. If only I had a dollar for every time I've heard, "I've got to get one of those for my daughter-in-law!" But seriously, this is the best can opener in the world. Smooth can edges, crust-free opener... win.

Look familiar? Yes, pretty much every baking experience begins the same way for me, but this is the reason I still enjoy it. I'm quick and efficient because I don't stop in the middle of a recipe to find a random ingredient. Nope, I get it all out at the beginning and then just add things as the recipe directs. It's a great method, and I highly recommend it. Here's what I'm using: Pinch Bowls, Measuring Spoon Set, Adjustable Measuring Spoons, Measuring Cup Set, Easy Read Mini Measuring Cup, Measure-All Cup, Stainless Mixing Bowls, Korintje Cinnamon, Large Cutting Board. I love kitchen tools.

The Pastry Blender is a must-have for cutting butter. Before I had this, I shyed away from anything that involved this step because it was so annoying with a fork. Butter = happiness.

Since I was making pumpkin scones, I decided to get crazy and cut them out with my new pumpkin cutters, a Pampered Chef Outlet find. The set comes with a pumpkin, a ghost, and a bat, and it's only available until the 31st. Less than two dollars! Unfortunately, I made my scones super thick and lost the pumpkin stems in baking. These are on the Rectangle Stone from the Stoneware Collection, and that's what I credit with their perfect baking. The bottoms were beautifully golden to match the tops, and the insides were moist. Put simply, perfection happened in my kitchen.

I'll be repeating these on a regular basis. This recipe is a home run with no room for improvement. The pumpkin flavor is clear without being overwhelming, and the maple glaze compliments it perfectly. If you find yourself searching pumpkin scone recipes online, stop now. The internet has led you to a good place.

Like the products you saw used?
Shop Online 24/7 at pamperedchef.biz/jennylyn
E-mail me: chefjennylyn[at]gmail.com
Call me up: (205) 585-2464


Wednesday, August 3, 2011

Cinnamon Sugar Scones

Scones... You probably know my history with scones and how I later realized they really aren't bad, especially if they're made with the base for this recipe. If you don't know that story, here it is. Anyway, this is a cinnamon sugar version of Baked Perfection's fabulous recipe, and I feel the need to warn you these are dangerous. You make them without knowing just how good they're going to be, and you end up sick from sugar overload when you couldn't limit yourself to one. Experience speaks loudly, my friends.

Cinnamon Sugar Scones
chefjennylyn.com


2 cups flour
3 tablespoons sugar
1 tablespoon baking powder
1/2 teaspoon salt
2 teaspoons cinnamon
1 1/4 cups heavy cream

Glaze:
1 cup powdered sugar
1/2 teaspoon vanilla
1/2 teaspoon cinnamon
1-2 tablespoons milk


Preheat oven to 400 degrees.

Mix flour, sugar, baking powder, salt, and cinnamon. Add heavy cream, and stir just until combined. (Mixture will be sticky, so don't think you're an idiot just yet.) Flour a surface, and pat the dough out; cut into shapes. Place scones on a pan, and bake 9-11 minutes. Let cool five minutes before glazing.

For glaze, stir ingredients until you reach a thin icing consistency. Pour or drizzle over warm scones.

Recipe adapted from Baked Perfection


If you've seen one picture of prep work, you've seen them all. If you've followed my blog long, you've seen a lot of prep pictures... tons of them. I'll repeat myself simply because this is true: Prep work makes recipes go more quickly, and it makes cooking and baking fun instead of annoying. Think Rachel Ray would look cool if she dug out all her ingredients as she prepared recipes? Didn't think so. So.... Stainless Mixing Bowl with Measuring Cup and leveler tool inside. Pinch Bowl full of sugar (yum!), Adjustable Measuring Spoon, Measuring Spoons, Easy Read Measuring Cup, Large Cutting Board, and Korintje Cinnamon.

Korintje Cinnamon from the Pampered Pantry is the star of this show. I have to admit that once you've used this for all those fab recipes featuring cinnamon, it's difficult to use other brands. My friend Christopher has started adding this to his family's Saturday morning pancake batter (yes, there are cool dads out there who make pancakes for the wife and kids), and he said it's fantastic!

Ok, so there's not a lot to explain about mixing this dough together, but I need to warn you again it's crazy sticky. I mean like stick...eeee. So just know that going in, and you'll have a great experience. Sometimes I cut scones in circles using my Biscuit Cutters, but this time I felt like cutting them in miniature triangles. I got a little crazy and caused them to lose shape while they baked, but you get the point. So I separated my dough on the floured Large Cutting Board (thanks, Flour/Sugar Shaker) and cut it in scones using the 7" Santoku Knife from the Forged Cutlery Collection. Flour your knife blade for easy cutting. I baked these guys on the Rectangle Stone from the Stoneware Collection for amazing results. And I mean amazing results.

One thing I love about the Easy Read Measuring Cups is that you can use them as mixing bowls when needed. I measured my powdered sugar in here and just added everything else. This is where the Korintje Cinnamon really got to shine...cinnamon glaze sauce icing stuff. Oh, my! I mixed it all with the Skinny Scraper and was ready to go!

Ok, best glazing station ever. Put a towel or paper towels under the Cooling Rack, glaze warm scones, and throw the rack in the dishwasher. What about that leftover glaze that needs to be scraped from the sides of my measuring cup? Well, that's another story for another day, but I will say I gained a few pounds after making these.

Check out those bottoms! Stoneware is the best stuff ever! These scones will absolutely melt in your mouth, guaranteed. They're best enjoyed with a friend for sure! My friend Courtney and I used to make brunch together before she moved to Thailand, and this recipe always makes me think of the day we did scones and cheese grits. Odd combination? This is the South, and anything goes with grits at any time. Don't judge.

Ok, so these are good. Their goodness is trumped only by their easy preparation. If you don't make them, it's your loss, but you should at least pass the recipe to others so they can enjoy the world's best, easiest cinnamon sugar scones. Enjoy!


Like the products you saw used?
Shop Online 24/7 at pamperedchef.biz/jennylyn
E-mail me: chefjennylyn[at]gmail.com
Call me up: (205) 585-2464

Tuesday, May 24, 2011

Cookies 'n Cream Scones

Sometimes I'm in the mood to bake, and there's nothing that can get my mind off of it. Yes, I'm a little obsessive that way. Once my mind is locked on something, it's locked. I was the kid who used to drive my parents crazy once I got an idea in my head, but now I'm the adult who can just act on whatever idea I have - like making cookies 'n cream scones because I happened across a recipe online. I made something involving Oreos a couple of weeks ago, and that left me with half a package unused. This is dangerous. You know how you can leave something in the pantry untouched for months, but then if you get started on it, it's like game over? That's how I am, and that's why I don't keep junk food in my house. I put the Oreos in the freezer, but that's not much of a solution because frozen Oreos happen to be every bit as good as thawed ones, especially if you add a glass of milk. What am I saying? Is it even possible to eat these things without milk? Ok, I digress... Anyway, I needed to use the stupid cookies to avoid eating them. That's when I saw this recipe from Amandeleine, one of the many cooking blogs I follow. Scones full of crushed up Oreos and white chocolate chips? Yes, please!
(Pictured above: Cooling Rack, Large Serving Spatula, Rectangle Stone, Medium Round Stone)

Cookies 'n Cream Scones
chefjennylyn.com


1 cup cold heavy cream
1 large egg
2 cups all-purpose flour
3 tablespoons sugar
1 tablespoon baking powder
1/2 teaspoon salt
5 tablespoons cold unsalted butter, cut into small pieces
1 cup crushed Oreos
1 cup white chocolate chunks or chips
Additional cream for brushing the scones (about 3 tablespoons)
1. Preheat oven to 400 degrees F. Prepare a baking sheet or stone.
2. In a small bowl or glass measuring cup, mix 1 cup heavy cream and egg together with a fork. Set aside. In a large bowl, whisk together the flour, sugar, salt and baking powder.
3. Add the cold butter pieces to the flour mixture. Cut together. Stop mixing when the butter is mostly mixed in. You want to have small butter chunks that are about the size of peas.
4. Pour the cream and egg mixture over the flour/butter mixture. Stir until everything just comes together. Don’t over mix. Add in the Oreo chunks and white chocolate. Keeping the dough in the bowl, knead it by hand just until it comes together.
5. Lightly dust a clean surface with flour. Remove the dough from the bowl and place on surface. Divide the dough into two large pieces. Working with one piece at a time, pat the dough into a circle. Cut it into wedges. Repeat with the other piece. Place scones on baking sheet and lightly brush with additional cream.
6. Bake the scones for 15-18 minutes, or until the scones are firm. Transfer scones to a wire rack and cool for 10 minutes before serving.
-----
This recipe is from Amandeleine, and she got it from someone else who got it from someone else.


I always lay ingredients out before I start a recipe. This just keeps me from feeling flustered, especially when I'm making something for the first time. It's part of my obsessive personality, I guess, but I'm not some weirdo who can't stand to do it any other way. So what do we have going on here? Lots of things... Stainless Mixing Bowls, Measuring Spoon Set, 2-Cup Prep Bowls, Pinch Bowls, Easy Read Measuring Cups, Measuring Cup Set, and the Manual Food Processor. Of course, as always, I have a Large Cutting Board underneath. You'll see why in a second.

I used to stay away from most recipes that involved cutting butter into flour. Why? Because it's annoying and difficult to do if you don't have the right tool! Confession: What you see here is my first time using the Pastry Blender. I'm embarrassed to admit it, but I never saw a use for it because I never cut butter into things. Then I made something (why can't I remember what it was?), and I got so annoyed using a fork that I ordered a Pastry Blender that day. Fast forward, and this is the result. Ok, this thing is amazing. Now I'll make up for lost time by making all things pastry blendery in the near future.

This is why I measure ingredients on the Cutting Board. I'm a messy, messy girl when it comes to the kitchen. I just figure it's easier to make a mess and wipe it up than to be oh-so-careful while measuring, mixing, and pouring. This is the Manual Food Processor, and it's awesome. Chop meat, cookies, vegetables, anything you want!

Sometimes a recipe says to do something by hand, and that means "but with a tool." In this case, I think it's just talking about diving in and getting dirty. At least I hope that's what it means, or I look really stupid right now. Ok, so the bottom line is that this dough looks amazing. I mean, hello - cookies. white chocolate chips. COOKIES! Of course, this is a Stainless Mixing Bowl because I'm in love with the entire set.

The original recipe says I'm supposed to cut the dough in triangles, but I enjoy the Biscuit Cutters for things like this. Just look at how pretty those babies are over there on the Rectangle Stone! I used the Flour/Sugar Shaker to dust the Large Cutting Board, and it's now the perfect work surface for my dough-cutting skills. (Note: Don't overwork the dough... shape and reshape once max, and then just turn anything left into separate scones that are just happy to be invited to the party.)

Use the Chef's Silicone Basting Brush to give these a little hit of cream, and they're ready to go in the oven! See this monster here? He's the result of leftover dough being piled into one beautiful mound of awesome.

Why this picture? Because I set the timer incorrectly. These are supposed to bake 15 minutes, but I accidentally set them for 1 hr. 50 minutes. After about 25 minutes, I realized my mistake and pulled them out of the oven. This picture illustrates the perfection that is Pampered Chef Stoneware. Even though I baked these almost twice as long as stated, they didn't scorch. They ended up a bit more done than I wanted, but they certainly didn't ruin. The outsides were a little brown, but the insides were still moist and delicious, just like a scone should be. Just call me an authentic scone maker. I still have some Oreos in the freezer, so maybe I'll try again because practice, after all, makes perfect.

Like the products you saw used?
Shop Online 24/7 at pamperedchef.biz/jennylyn
E-mail me: chefjennylyn[at]gmail.com
Call me up: (205) 585-2464


Wednesday, March 30, 2011

Lemon Cranberry Scones

I always hated scones. I never understood why people would pay good money for what I considered a muffin wannabe that seemed more like a hard biscuit. Every one I'd tried had a certain I-was-overbaked-and-then-left-out-on-a-counter-uncovered-for-five-days thing about it, so I became a scone cynic. Then things changed. In a frantic search for a white chocolate macadamia blondie recipe, I stumbled on the first food blog I ever followed, Baked Perfection. It's hard for me to exaggerate what became an obsession for me. Late nights scouring the entire site for things I wanted to try began to interfere with my former 8-hour sleep pattern, but it was worth it. (Oh, don't judge me! How much time do you waste playing Angry Birds?) Risa, the awesome girl who runs things, is largely to thank for my newfound baking hobby. To all those friends who who have benefited from a batch of something-or-other that I had to get out of my house before eating too much, thank Risa. By the way, I was attracted to her scone recipe because she had the same beef with them I used to have! Yes, I said beef...


Lemon Cranberry Scones
chefjennylyn.com

2 cups flour
3 tablespoons sugar
1 tablespoon baking powder
2 tablespoons lemon zest
1/2 teaspoon salt
1 cup dried cranberries
1 1/4 cups heavy cream

Glaze:
1 cup powdered sugar
2-3 tablespoons lemon juice


Preheat oven to 400 degrees.

Mix flour, sugar, baking powder, lemon zest, salt, and cranberries. Add heavy cream, and stir just until combined. (Mixture will be sticky, so don't think you're an idiot just yet.) Flour a surface, and pat the dough out; cut into shapes. Place scones on a pan, and bake 9-11 minutes. Let cool five minutes before glazing.

For glaze, combine the powdered sugar and lemon juice until you reach a thin consistency. Pour over warm scones.

Recipe adapted from Baked Perfection


Anyone else think prep work is important? Sugar is measured into a Pinch Bowl while salt and baking powder are in Measuring Spoons. Have I mentioned how much I love these new measuring spoons? They're awesome! Ok, moving on... Cranberries are in a 1-Cup Prep Bowl, and I've got my Microplane Zester ready to zest rind into the the Mini Scoop & Measure. All of this is hanging out on the Large Cutting Board.


Do as I say, not as I do. The directions say you're supposed to mix everything besides the cream and then add it, but I got crazy. Fortunately, these still came together beautifully, and tragedy was averted. My mixture is in the 4-Qt. Stainless Mixing Bowl, and I'm pouring cream from an Easy Read Measuring Cup. Do NOT substitute half-and-half, whole milk, or any other substance for the cream in this recipe. If you can't handle the thickness, go find another recipe. Heavy whipping cream is what makes this come together, and you'll become a scone cynic if you make these without it.

I floured my Cutting Board a bit and got out my Biscuit Cutter. The flour in the Pinch Bowl helps keep the cutter from sticking to the dough because trust me, this dough takes sticky to another level. Doesn't this look fun?

My scones are lined up on the Rectangle Stone, ready to go in the oven. If you think these look good now, wait about 9-11 minutes.

While the scones bake, prepare the glaze. You don't have to use another lemon - just grab the one you already zested for the dough. I'm cutting this with the 3 1/2-inch Paring Knife from the Forged Cutlery Collection, and you can see how it cuts the lemon rind like butter. My Citrus Press, one of my favorite tools of all time, is ready for action.

I used the large Easy Read Measuring Cup to make my glaze because it kept me from dirtying a measuring cup plus another bowl. Again, that's the Microplane Zester for lemon rind, and then I'm going to stir things up with a Small Bamboo Spoon.

See how easily the Citrus Press handles the lemon? Since a standard lemon will yield about 2 tablespoons of juice, I didn't bother measuring. Yes, I live on the edge.

This picture makes me happy. Such a simple recipe that makes for beautiful results, and this is the point when you see it all come together. Glaze the scones after they've set about five minutes, and then move them to a Cooling Rack to cool a bit. I'm transferring my scones from the Rectangle Stone with the Large Serving Spatula.

You know what I said about hard biscuits? Does this look like a hard biscuit to you? I didn't think so. Thanks again to Risa at Baked Perfection for an excellent recipe that has become a regular in my rotation! (These are on the Cake Pedestal)

Like the products you saw used?
Shop Online 24/7 at pamperedchef.biz/jennylyn
E-mail me: chefjennylyn[at]gmail.com
Call me up: (205) 585-2464