
 I always hated scones. I never understood why people would pay good money for what I considered a muffin wannabe that seemed more like a hard biscuit. Every one I'd tried had a certain I-was-overbaked-and-then-left-out-on-a-counter-uncovered-for-five-days thing about it, so I became a scone cynic. Then things changed. In a frantic search for a white chocolate macadamia blondie recipe, I stumbled on the first food blog I ever followed, Baked Perfection. It's hard for me to exaggerate what became an obsession for me. Late nights scouring the entire site for things I wanted to try began to interfere with my former 8-hour sleep pattern, but it was worth it. (Oh, don't judge me! How much time do you waste playing Angry Birds?) Risa, the awesome girl who runs things, is largely to thank for my newfound baking hobby. To all those friends who who have benefited from a batch of something-or-other that I had to get out of my house before eating too much, thank Risa. By the way, I was attracted to her scone recipe because she had the same beef with them I used to have! Yes, I said beef...
Lemon Cranberry Scones
chefjennylyn.com
2 cups flour
3 tablespoons sugar
1 tablespoon baking powder
2 tablespoons lemon zest
1/2 teaspoon salt
1 cup dried cranberries
1 1/4 cups heavy cream
Glaze:
1 cup powdered sugar
2-3 tablespoons lemon juice
Preheat oven to 400 degrees.
Mix flour, sugar, baking powder, lemon zest, salt, and cranberries. Add heavy cream, and stir just until combined. (Mixture will be sticky, so don't think you're an idiot just yet.) Flour a surface, and pat the dough out; cut into shapes. Place scones on a pan, and bake 9-11 minutes. Let cool five minutes before glazing.
For glaze, combine the powdered sugar and lemon juice until you reach a thin consistency. Pour over warm scones.
Recipe adapted from Baked Perfection
 Anyone else think prep work is important? Sugar is measured into a Pinch Bowl while salt and baking powder are in Measuring Spoons. Have I mentioned how much I love these new measuring spoons? They're awesome! Ok, moving on... Cranberries are in a 1-Cup Prep Bowl, and I've got my Microplane Zester ready to zest rind into the the Mini Scoop & Measure. All of this is hanging out on the Large Cutting Board.
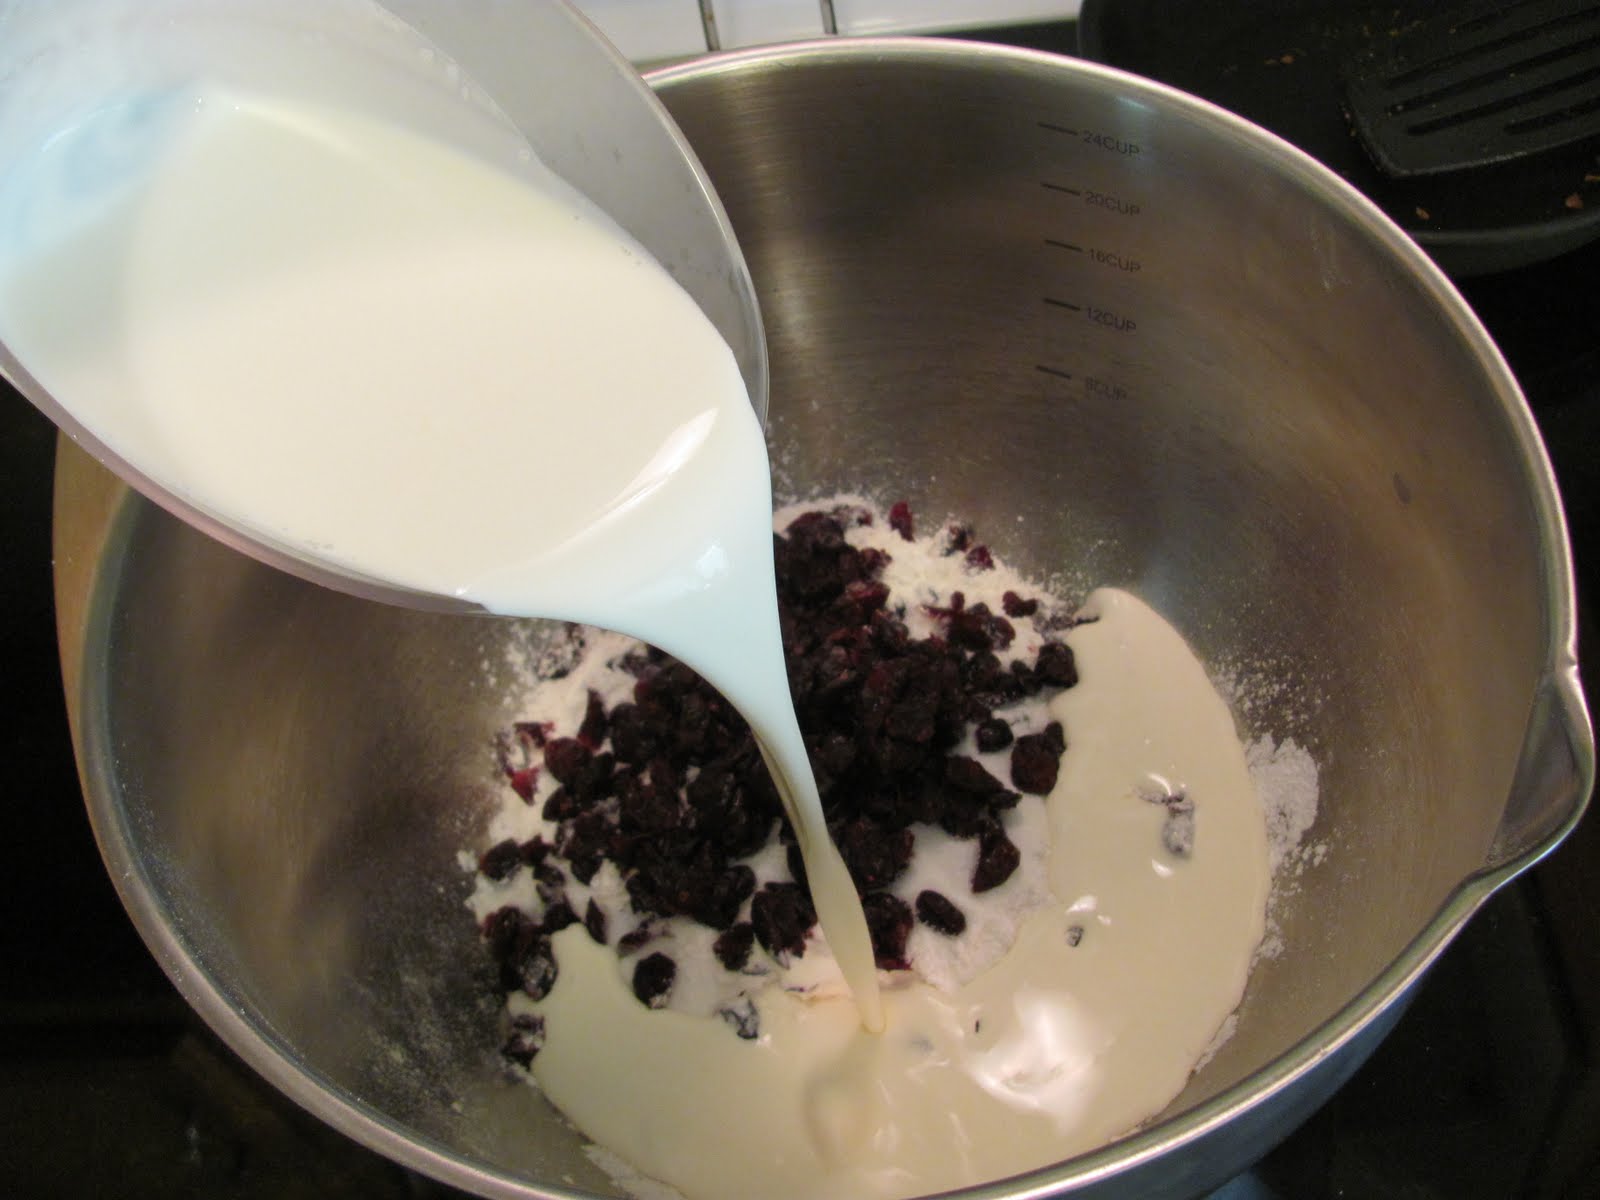 Do as I say, not as I do. The directions say you're supposed to mix everything besides the cream and then add it, but I got crazy. Fortunately, these still came together beautifully, and tragedy was averted. My mixture is in the 4-Qt. Stainless Mixing Bowl, and I'm pouring cream from an Easy Read Measuring Cup. Do NOT substitute half-and-half, whole milk, or any other substance for the cream in this recipe. If you can't handle the thickness, go find another recipe. Heavy whipping cream is what makes this come together, and you'll become a scone cynic if you make these without it.
 I floured my Cutting Board a bit and got out my Biscuit Cutter. The flour in the Pinch Bowl helps keep the cutter from sticking to the dough because trust me, this dough takes sticky to another level. Doesn't this look fun?
 My scones are lined up on the Rectangle Stone, ready to go in the oven. If you think these look good now, wait about 9-11 minutes.
 While the scones bake, prepare the glaze. You don't have to use another lemon - just grab the one you already zested for the dough. I'm cutting this with the 3 1/2-inch Paring Knife from the Forged Cutlery Collection, and you can see how it cuts the lemon rind like butter. My Citrus Press, one of my favorite tools of all time, is ready for action.
  I used the large Easy Read Measuring Cup to make my glaze because it kept me from dirtying a measuring cup plus another bowl. Again, that's the Microplane Zester for lemon rind, and then I'm going to stir things up with a Small Bamboo Spoon.
 See how easily the Citrus Press handles the lemon? Since a standard lemon will yield about 2 tablespoons of juice, I didn't bother measuring. Yes, I live on the edge.
 This picture makes me happy. Such a simple recipe that makes for beautiful results, and this is the point when you see it all come together. Glaze the scones after they've set about five minutes, and then move them to a Cooling Rack to cool a bit. I'm transferring my scones from the Rectangle Stone with the Large Serving Spatula.
 You know what I said about hard biscuits? Does this look like a hard biscuit to you? I didn't think so. Thanks again to Risa at Baked Perfection for an excellent recipe that has become a regular in my rotation! (These are on the Cake Pedestal)
Like the products you saw used?
Shop Online 24/7 at pamperedchef.biz/jennylyn
E-mail me: chefjennylyn[at]gmail.com
Call me up: (205) 585-2464
No comments:
Post a Comment