Saturday, February 26, 2011

Oven Roasted Broccoli


Side dishes can sometimes be the most stressful part of a meal. I think most of us have been guilty of preparing a meal, looking around, and realizing we don't have a good balance of vegetables to, well, everything that's not a vegetable. It reminds me of the time I ordered lasagna in Brazil, and it was served with rice and French fries. True story. Ok, so here's a great method for cooking broccoli. It's packed with flavor, and it still has the crunch that's easily lost when steaming. (Above photo is in the Deep Covered Baker.)

Oven Roasted Broccoli
chefjennylyn.com
5 broccoli crowns
1 cup lite Italian salad dressing
3/4 tsp. basil
3/4 tsp. thyme
3/4 tsp. rosemary, crushed
Preheat oven to 425 degrees.
Slice, wash, and drain broccoli. Toss with remaining ingredients. Spread on Large Bar Pan, and cook 20-30 minutes, or until desired doneness. (Toss half-way through baking so the flavors are evenly distributed.)

Slicing vegetables isn't the most fun task in the world, and that's why a lot of people rarely buy anything fresh. The 5" Utility Knife makes quick work of the broccoli crowns, which is by far the most time-consuming part of the recipe. Cutting up broccoli is proof that good knives are essential for an efficient kitchen. Check out the Forged Cutlery Collection for this knife and his siblings. My station: Large Colander from the Colander & Bowl Set; Large Grooved Cutting Board, which fits across my sink; Pinch Bowl for my herb mixture; Easy Read Measuring Cup for salad dressing.


My recipe makes a lot of broccoli, so feel free to cut it in half if you don't plan to feed an army. I'm a big fan of fresh vegetables, and I like to cook enough for leftovers. This is the Large Bar Pan, and it's ideal for large quantities. When you read a recipe that uses the term "jelly roll pan," you need the Large Bar Pan.
This recipe can be used for any vegetables you want, so get crazy and experiment with the produce section.

Like the products you saw used?
Shop Online 24/7 at pamperedchef.biz/jennylyn
E-mail me: chefjennylyn[at]gmail.com
Call me up: (205) 585-2464

Tuesday, February 22, 2011

Red Velvet Whoopie Pies

Yes, these are real. Yes, I made them. Yes, I'm a hero. A friend of mine had me over for dinner a couple of weeks ago, and I was making the sweet to go with her savory. Of all the recipe ideas she sent me, this was the most appealing, and my taste buds told me I chose correctly. These are from Better Homes and Gardens, and I'd say the recipe's a home run. Oh. My. Goodness. Make these. Don't wait for Valentine's Day to come back around - make them now!

Red Velvet Whoopie Pies
chefjennylyn.com

2 cups flour
2 tbsp. cocoa powder
1/2 tsp. baking soda
1/4 tsp. salt
1/2 cup butter, softened
1 cup packed brown sugar
1 egg
1 tsp. vanilla
1/2 cup buttermilk
2 tbsp. red food coloring

8 oz. cream cheese
3 1/2 cups powdered sugar
3 tsp. vanilla

Preheat oven to 375 degrees.

Medium bowl: combine flour, cocoa, baking soda, salt. Whisk together, and set aside.

Large bowl: Beat butter on medium to high for 30 seconds. Beat in brown sugar until light and fluffy. Beat in egg and vanilla. Alternately add flour mixture and buttermilk, beating after each addition, just until combined. Stir in food coloring.

Drop heaping tablespoons of dough on baking sheets, about 1 inch apart.

Bake 9-11 minutes or until tops are set. Cool completely on cooking racks.

For filling, combine cream cheese and powdered sugar, beating until smooth. Beat in vanilla extract until combined. Pipe on half of the cookies, and sandwich the others on top.


Leveling your flour makes a huge difference. That's the difference between 1 cup and 1 1/4 cups. Anyway, I have it in the Measuring Cup Set, and I'm adding it to the 2-Qt. Stainless Mixing Bowl.


I know I say this on every recipe, but prep work makes a huge difference when baking or cooking. It's so nice to just add ingredients when the recipe says instead of fumbling around to find what you need in the middle of assembly. My baking soda is in an Adjustable Measuring Spoon, and my food coloring is in the Easy Read Mini Measuring Cup. I'm using my favorite bowls in the world - the Stainless Mixing Bowls, of course. I normally set prepped ingredients on the Cutting Board to keep from messing up my workspace.


No, this egg isn't bad. I just figure if I'm going to add the egg and vanilla at the same time, I might as well have them in the same bowl. I love the Prep Bowls for making sure my eggs are ok and I don't have shell in them. My buttermilk is in an Easy Read Measuring Cup, and it's ready to join the flour mixture in my "light, fluffy butter mixture" after the egg. The Stainless Whisk is a kitchen must-have. You'll love it, I promise!

Now for the easy part - sandwiching the cookies. The Medium Scoop makes this so simple, and it keeps the filling looking good. I'm putting all of these on the Cake Pedestal, one of my favorite products. I love that I can take it off its base to use as a flat platter if I want. Of course that also makes it easy to wash in the dishwasher. Win.

Ok, so I LOVE these cookies! The great thing about whoopie pies is that you're eating two cookies for the price of one. By price, I mean shame... not calories. Color these green, and enjoy them for St. Patrick's Day in a few weeks. Send me a picture if you do that!

Like the products you saw used?
Shop Online 24/7 at pamperedchef.biz/jennylyn
E-mail me: chefjennylyn[at]gmail.com
Call me up: (205) 585-2464


Thursday, February 17, 2011

Mini Chocolate Tiramisu Cakes

These get rave reviews whenever I serve them, so I figured I'd share the recipe. These little cakes are simple yet delicious, easy yet elegant. I guess I'm trying to say I love them. Here's my version. The original calls for a small package of devil's food cake mix, but I buy a normal box and double the recipe. It makes about three pans of cakes, so I typically divide them among a couple of shows for the host to come out dirt cheap on ingredients. Crafty. (Display picture is on the stand of the Trifle Bowl.)

Mini Chocolate Tiramisu Cakes
chefjennylyn.com
1 pkg. devil's food cake mix
1/2 cup sour cream
2 eggs
2 tbsp. instant coffee granules
2 tbsp. water
2/3 cup coffee liqueur (see substitute)
3 cups frozen whipped topping, thawed
8 oz. cream cheese, softened
1/4 cup powdered sugar
2 tsp. vanilla
Cocoa powder (optional)
Preheat oven to 350.
Spray cups of Deluxe Mini-Muffin Pan wiht nonstick cooking spray. For cakes, combine cake mix, sour cream, eggs, coffee, and water. Mix, and divide batter among muffin cups using Small Scoop. Bake 8-10 minutes.
Press tops of cakes with lightly floured Mini-Tart Shaper to make slight indentations. Cool 2 minutes. Remove cakes from pan to cooling rack. Brush tops with coffee liqueur using chef's silicone basting brush; cool completely.
Place whipped topping in large resealable bag; set aside. For filling, combine cheese, sugar, and vanilla, and mix until smooth. Place filling in additional bag. Trim corners of bags, and pipe filling over cakes. Place whipped topping over filling, and sprinkle with cocoa powder.


Coffee Liqueur Substitute:
1/2 cup water, 1/2 cup sugar, 2 tbsp. instant coffee granules, 2 tsp. rum extract
Cook over medium heat until sugar dissolves, stirring occasionally. Cool.
My water is in an Easy Read Measuring Cup, and my coffee granules are in the Easy Read Mini Measuring Cup. As you can see, these are awesome because you can leave them setting on the counter while you pour ingredients. The rum extract is in an Adjustable Measuring Spoon, one of my favorite items. Being able to adjust to two teaspoons instead of measuring twice is very handy! The sugar is in a cup from the Measuring Cup Set. All of this is on the Cutting Board simply because it helps me keep things clean. I cooked the mixture in the 1.5-Qt. Saucepan from the 7-Piece Executive Collection, and that's the Skinny Scraper hanging out inside the pan.

Ok, so the filling mixture is in the Small Batter Bowl, and I'm going to mix it up with the Small Mix 'n Scraper. These pieces go together like peas and carrots... peanut butter and jelly... Fred and Ethel. Notice again that Adjustable Measuring Spoons are incredible.


The Professional Shears are fabulous in the kitchen. They cut everything from packaging to meat, and they'll even cut... through chicken bones. I've never done that simply because it grosses me out, but I've heard it happens. I'm going to mix all of my cake ingredients in the Classic Batter Bowl using the Stainless Whisk, but notice that I've got the eggs cracked into a Prep Bowl. Always do this to prevent a world of problems (bad eggs, shell issues, etc.). Who likes to measure sour cream and other not liquid/not solid substances? That's what I thought, but it's not bad at all with the Measure-All Cup. Love this thing!


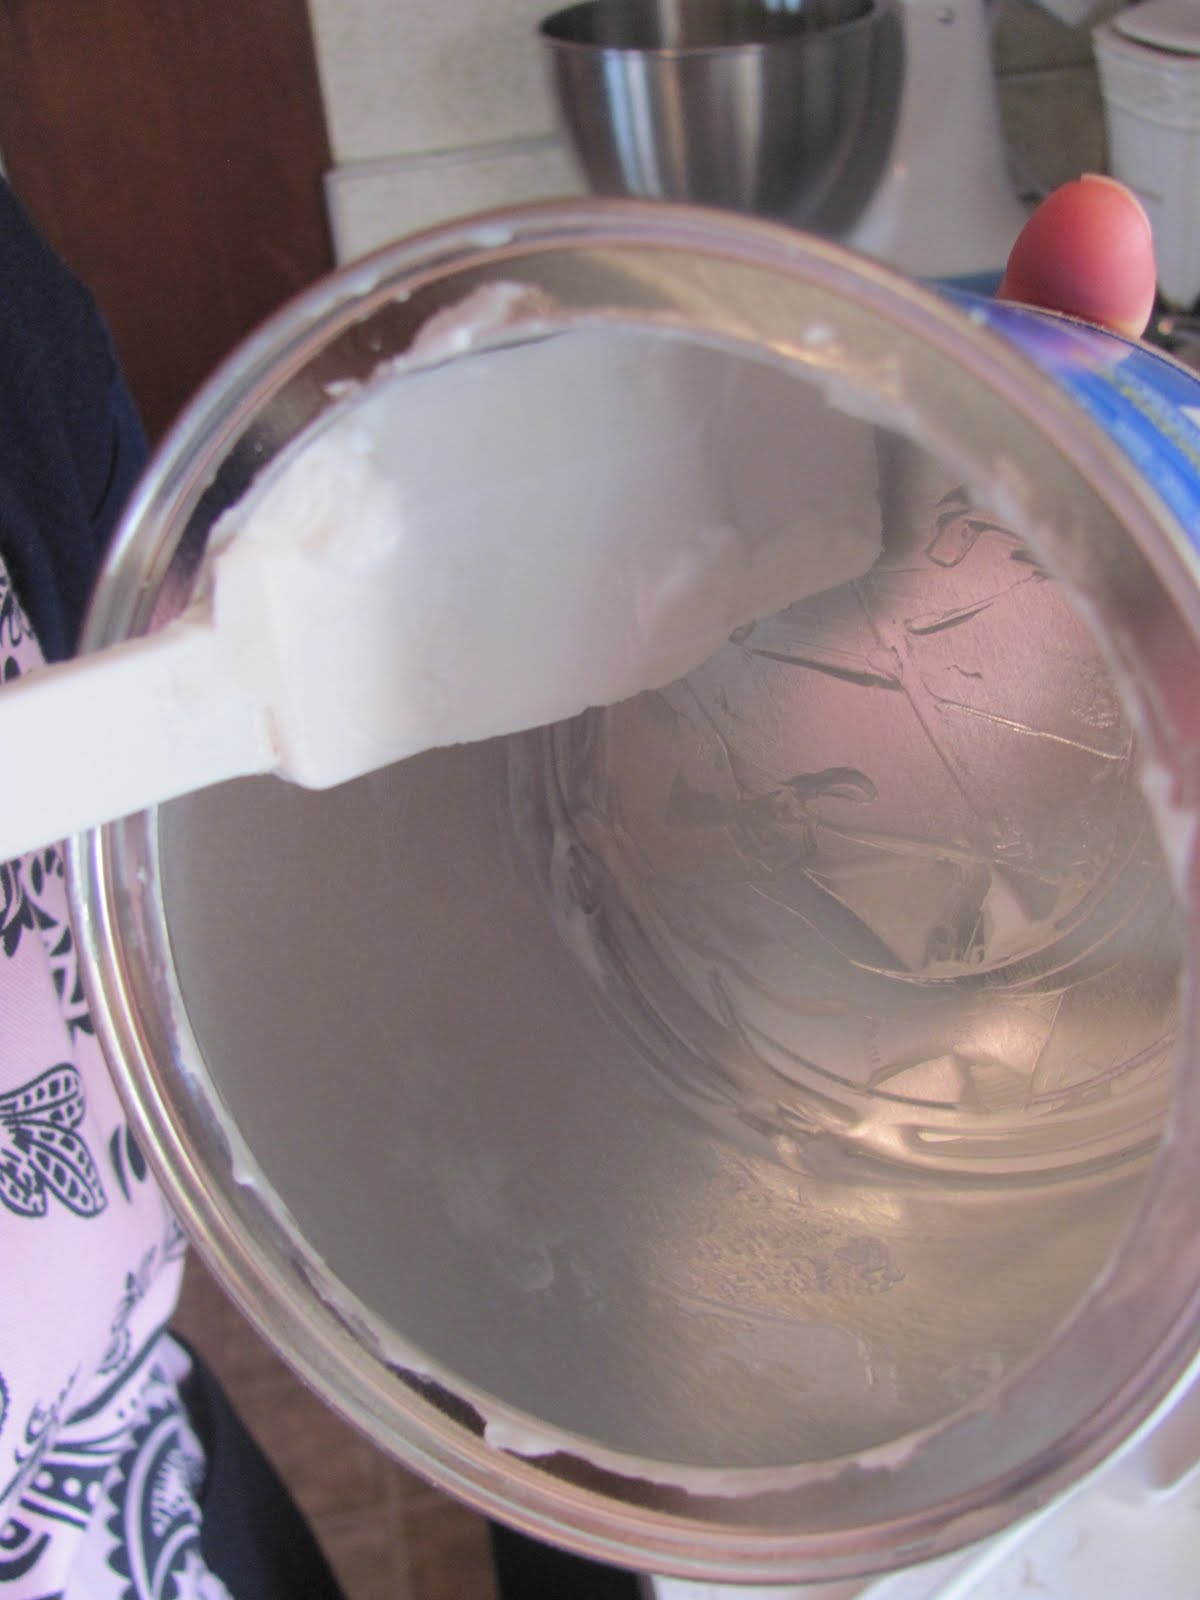
See why I love the Measure-All Cup? I just pop ingredients out, scrape them off the outside, and enjoy zero waste with easy clean-up. For the cake part, I have to admit that I've been screwing up for six months now. Um, apparently I didn't read the recipe correctly the first time I made this, and I thought the coffee liqueur (or substitute) went in at this step, and you used extra to brush the cakes. Apparently it's all for brushing the cakes. Interesting that I didn't notice that until I typed it for this blog post. So anyway, I always add 2/3 cups of coffee liqueur into the batter, and I think I'm better for it. That's the Classic Scraper for getting everything out of the bowl, and I'm going to rock batter division out with the Small Scoop.


Small Scoop. Deluxe Mini-Muffin Pan. Pure bliss! If you've been doing jobs like this without scoops, I admire you. I don't think I'd ever make these cakes without this tool. Too messy, aggravating, and "there's got to be a better way"-ing.

The Mini-Tart Shaper can take anything and make it really cool. Example: Buy sugar cookie dough that's already in squares (we all do it), bake them in the Deluxe Mini-Muffin Pan, and shape them into little wells. Fill the wells with a cream cheese/powdered sugar mixture, and add fruit. Miniature fruit pizzas. I could go on and on, but I won't. I'll get back to the task at hand. My flour is in a Pinch Bowl, and I can just put the lid on it when I'm finished. Then I'm ready to go for the next time, which will probably be soon.


Brush the cakes with a little coffee liqueur, pipe in the cream cheese mixture and whipped topping, sprinkle with cocoa, and you're done! This is the Chef's Silicone Basting Brush, an awesome tool that cleans up like a gem. It can go in the dishwasher, and whatever's in it will come right out. I love this for all basting because I never have to worry about bristles coming off in my food. Also, it won't melt when I use it on hot pans. The Cooling Rack, a kichen must-have, ensures everything cools evenly without getting stuck to plates or serving pieces.
If you make these, you should probably do as I do, and add 2/3 cup of coffee liqueur to the cake batter. I don't plan on correcting my error since I've been so happy with my result, but I find it odd that I'm such an idiot. I mean, here I thought I was some kind of kitchen genius or something. Well, I guess this just proves - again - that anyone can be a Pampered Chef consultant. Join my team, and help me be smarter.
Like the products you saw used?
Shop Online 24/7 at pamperedchef.biz/jennylyn
E-mail me: chefjennylyn[at]gmail.com
Call me up: (205) 585-2464


Wednesday, February 16, 2011

Eggplant and Goat Cheese Sandwiches

My friend Allison came over to exchange Christmas gifts the other day, and I made her one of my specialty sandwiches. Yes, I said Christmas gifts. Yes, it is February. Yes, we are losers. If you want a meal that's light, satisfying, and makes you feel like you're in a restaurant, try these little beauties. Just one note: These are not date night sandwiches. They are messy, messy, messy, but they make up for it by being good, good, good.

Eggplant and Goat Cheese Sandwiches
chefjennylyn.com
8 (1/2-inch thick) eggplant slices
2 tsp. olive oil
1 red bell pepper
4 slices ciabatta bread
2 tbsp. pesto
1/2 cup raw spinach
1/4 cup (2 oz.) soft goat cheese
Preheat broiler.
Arrange eggplant slices in a single layer in large pan, and brush both sides with oil. Sprinkle with salt and pepper, and broil 4 minutes. Turn eggplant over, and broil 4 more minutes. To roast bell pepper, cut in half, remove membrane, and place in oven skin-up while eggplant cooks. Leave in 7 more minutes after removing eggplant, and place in a zip-top plastic bag. Seal, and let stand 15 minutes; peel and discard skin.
Broil bread slices about two minutes or until lightly browned. If you don't want the bread as crunchy, heat less or turn off the broiler.
Spread two slices of bread with goat cheese and pesto. Layer with eggplant, red pepper, and spinach. Top with the other slice of bread (surprise!), and enjoy the best sandwich of your life.


I have a lot more than 8 eggplant slices, but I figure if I'm going to cook eggplant, I'm going to cook all of it. Given that it's one of my favorite side dishes, I'm perfectly happy making a lot at once. This is the 7" Santoku Knife, and it is the best knife EVER for things like eggplant, butternut squash, large potatoes, and a lot of other things. I've got the Large Grooved Cutting Board laid over my sink, and that's the Large Bar Pan over the other half of the sink. I love when things work this way because it just means extra workspace for me.
Tip: See how I'm holding the eggplant by the top? Utilize this section of eggplant, squash, zucchini, etc. to save your fingers.

My oil is in a Pinch Bowl, and I'm using the Chef's Silicone Basting Brush to spread it over the eggplant slices. From one eggplant, I've got the Large Bar Pan and the Rectangle Stone covered. My red peppers are on the Small Bar Pan.


I've said this before, but I'll say it again: When salt and pepper are the only seasonings you're using, make sure they're high quality. The Pampered Pantry is full of amazing products, and my favorites are the Coarse Sea & Himalayan Salt and the Peppercorn Medley. Filling my Bamboo Grinder Set with these means great flavor every time. Behind me, I've got the pesto in the Easy Read Mini Measuring Cup, and I'm going to spread it with the All-Purpose Spreader.

Ciabatta bread isn't the easiest to slice, but the 7" Santoku Knife makes it simple. The spinach is in the small bowl to the Colander & Bowl Set, one of my favorite items. All of the pieces nest together for easy storage, and lids are included.

Ready to arrange the sandwiches! Tell me, is this not a beautiful display? I love to eat by color, and this sandwich offers all kinds. Everything is laid out on the Large Grooved Cutting Board, and all I have to do is put it together. The goat cheese is in a 1-Cup Prep Bowl, and it's perfect because I can put a lid on any I don't use.
Allison highly approved these sandwiches, and she was surprised by how well all the flavors worked together. These can be changed to a beautiful appetizer as well. Think small French bread slices, goat cheese, pesto, small eggplant and red pepper slices on top... The possibilities are endless! Enjoy!

Like the products you saw used?
Shop Online 24/7 at pamperedchef.biz/jennylyn
E-mail me: chefjennylyn[at]gmail.com
Call me up: (205) 585-2464


Tuesday, February 15, 2011

Homemade Oreos

Today I went to bake with my friend Terri, and the result was amazing. Homemade Oreos, people... wow! My sister-in-law and I made these together a while back, and she described them as Oreo-inspired. I think that's the best way to explain these beauties because they are not exactly like what you'd buy at the store. They're better. For example, you would NEVER crush these to make a crust, and eating ten of these in one sitting would be unthinkable. They're too satisfying to gorge yourself. The bottom line is that you should make these sometime, and then you should tell me what you think.

Homemade Oreos
www.chefjennylyn.com
1 1/4 cups flour
1/2 cup unsweetened cocoa
1 tsp. baking soda
1/4 tsp. baking powder
1/4 tsp. salt
1 1/4 cups sugar
1/2 + 2 tbsp. butter, softened
1 egg
Filling
1/4 cup butter, softened
1/4 shortening
2 cups powdered sugar, sifted
2 tsp. vanilla
Preheat oven to 375 degrees.
Thoroughly mix flour, cocoa, baking soda, baking powder, salt, and sugar. Beat in butter and then egg at low speed. Continue processing until the dough forms a mass.
Roll teaspoons of dough, and set two inches apart. Bake 9-10 minutes.
For cream, combine butter and shortening. Gradually beat in powdered sugar and vanilla. Beat mixture on high 2-3 minutes or until it becomes light and fluffy.
Sandwich cream between cookies, using your fingers to spread if necessary. Press cookie sandwich together slightly.
Don't forget milk. These desperately need to be dunked in milk!


Terri loves to bake, and she is the most passionate person I've ever met when it comes to Pampered Chef baking tools. The Measuring Cup Set is one of her favorite items because she's in love with the leveler tool. Plus, of course, she enjoys snapping all six cups into a neat stack.


Cocoa has a tendency to get compacted in the container, but the Small Bamboo Spoons are perfect for digging it out. That's the 8-Qt. Stainless Mixing Bowl, by the way.


Terri's got the Stainless Mini Whisk in action getting the egg ready for the dough. It's always a good idea to crack your egg in a small bowl before adding it to a recipe. This helps keep shell out, and it prevents "Oh no - that's a bad egg" disasters. Since the 1-Cup Measuring Cup was already dirty, we turned it into a small mixing bowl.


This picture shows the difference in stoneware over time. The cookies are on a Rectangle Stone that's pretty seasoned, and the stones underneath are the Small Bar Pan and the Large Bar Pan, both which are starting to turn brown.


The 5" Strainer is great for things like sifting powdered sugar. Here, I've got it over the 4-Cup Easy Read Measuring Cup.

Terri's favorite baking tool is the Measure-All Cup. She's loading it with shortening, and then she can pop it right into the mixture without losing any along the sides of a standard measuring cup.


The Skinny Scraper is perfect for scraping the rest of the shortening out of the can! Notice how it's hugging the rim to make sure we get all we can.

When you put the filling between the cookies, you might have to work with your fingers a little bit. Don't force it with a regular spreader, or you'll break the cookies. The beautiful, soft, life-changing cookies... They're on the Stackable Cooling Rack, by the way. Here it's up on its legs, but you can use it several ways, including laying it across the sink.
If you like Oreos, you'll adore these cookies. If you could take or leave them (like me), you'll adore these cookies. They're pretty simple to make, and they are glorious to eat.
One last thing: The display picture is in a Dots Pasta Bowl.

Like the products you saw used?
Shop Online 24/7 at pamperedchef.biz/jennylyn
E-mail me: chefjennylyn[at]gmail.com
Call me up: (205) 585-2464


Monday, February 14, 2011

Chocolate Bread Pudding

Sometimes there are recipes that make you stop after one bite, reflect on life, and decide you might be a hero. This was one of those for me. My friends Christopher and Elizabeth had me over for a lesson in wild game preparation, and this was my contribution. Chocolate bread pudding paired with bacon-wrapped quail over cheese grits... I could die. There are no words to describe how great this meal was - the food, the wine, the friends - spectacular. So here's my version of chocolate bread pudding. Just prepare yourself because this will blow your mind.

Chocolate Bread Pudding
chefjennylyn.com

1 loaf French bread, sliced in small cubes
4 oz. butter, melted
16 oz. chocolate, (1/2 grated)
2 cups milk
2 cups heavy cream
2/3 cup sugar
1 vanilla bean
6 eggs
Preheat oven to 325 degrees.
Toss the bread with butter and chocolate. Spread in 9x13 baker.
Combine milk, cream, sugar, and vanilla bean in a saucepan over medium heat. Bring to a boil, and cook until sugar is dissolved.
Whisk eggs until smooth. Slowly add milk mixture to eggs, stirring constantly.
Pour custard over bread, and bake 1 hour or until custard is set, and bread is golden.

You know what's annoying if you don't have a good knife? Slicing an entire loaf of French bread. Fortunately, the 7" Santoku makes quick work of this, and I have an 8-Quart Stainless Bowl full of cubes in no time. As always, I've got the Large Grooved Cutting Board laid across my sink for extra workspace. In a small kitchen, this thing is an absolute gift. I can't say enough about it, but I'll stop now. Ok, moving on...

Prep work = Fun cooking
No prep work = Frustration
The milk and heavy cream are measured into Easy Read Measuring Cups, and I've got my sugar in the 2/3 cup from the Measuring Cup Set. That's right - there's a 2/3 cup measurement. My eggs are in the Small Batter Bowl, an absolute must-have. Funny story about the eggs... There were supposed to be eight, but I had some help cracking them, and two didn't make it in the bowl. I didn't realize it until I saw two extra eggs in my fridge the next day, but I was so happy with the six-egg custard that I decided to change the recipe. Fewer eggs... fewer calories... larger serving... right?

This is a case where the Silicone Sauce Whisk comes in handy. The milk mixture requires attention to keep from scorching, and I don't have to worry about scratching the coating of my pan thanks to the silicone. The pan I'm using is the 4-Qt. from the Professional Cookware Collection, but that line has been upgraded. The new 4-Qt. nonstick pan is in the 5-Piece Executive Set.


Stainless Mixing Bowl Set: Love. I use these on a constant basis, and I always end up washing them myself because I can't fill the dishwasher before I need them again. That's why it's nice that they're lightweight and easy to clean. The set includes a 2-Qt., 4-Qt., and 8-Qt., and each comes with a lid.


The butter is melting in the 1.5-Qt. Saucepan from the Executive Cookware Collection, and I'm using the Skinny Scraper to help the process. What's nice about using a scraper is that I can get all the butter out of the pan when I drizzle it over the bread. Leaving a drop out of the actual dessert would be tragic! Yes, the Skinny Scraper can stay in the pan without melting because it's silicone, and it resists heat up to 650 degrees.

Because I took time to grate half the chocolate, my bread has a good coating that will soak in during baking. The Rotary Grater made quick work of this, and the result will be worth the extra step. Besides, this just looks prettier than a bunch of chunks.

See how the Rectangular Baker developed a halo during baking? It looks like heaven, and I promise it smells it heaven. Make chocolate bread pudding tonight, and let me know what you think. Warning... this stuff is addictive.

Like the products you saw used?
Shop Online 24/7 at pamperedchef.biz/jennylyn
E-mail me: chefjennylyn[at]gmail.com
Call me up: (205) 585-2464


Bacon and Goat Cheese-Stuffed Chicken Breasts

The term "stuffed" can be intimidating, but let me assure you there's no need to fear in this case. Cooking Light has done it again - great recipe with low calories. I first made this with my friend Forest, and he and I were blown away by the simple method yet delicious result. Then I made it for my friend Collin and his roommate Chris, and they were blown away by the fact that it was cooked in their kitchen. I guess what I'm trying to say is that this chicken can please at least three guys I know. Ok, so here it is:

Bacon and Goat Cheese-Stuffed Chicken Breasts
www.chefjennylyn.com

4 boneless, skinless chicken breasts
3 ounces goat cheese
2 slices cooked, crumbled bacon
1/2 tsp. salt
1/4 tsp. pepper
1 tbsp. canola oil
Preheat oven to 350 degrees.
Combine goat cheese and bacon.
Cut chicken breasts starting at the thick end, but do not cut all the way through. You're just forming a pocket, so don't get crazy. Divide the cheese mixture among the breasts, and secure with toothpicks. Sprinkle chicken with 1/2 tsp. salt and 1/4 tsp. pepper.
Heat a large, ovenproof skillet over medium-high heat. Add 1 tbsp. canola oil. Add chicken to pan; saute 4 minutes. Turn chicken over, and place pan in oven. Bake at 350 12 minutes.
Let stand 5 minutes.


I've got my bacon and goat cheese in the Small Batter Bowl, and I'm about to stir it up using the All-Purpose Spreader. Let me say something about the All-Purpose Spreader... It truly is all-purpose. I use this thing constantly, especially if anything involves spreading. Are you using a butter knife for peanut butter and jelly sandwiches? Don't.


A quick tip here: Notice I have my goat cheese separated into portions that are ready to go in the chicken. Working with raw meat means you have to be careful not to cross-contaminate your kitchen, so do whatever you can before you start touching everything. Since I have my cheese mixture divided out and ready to go, I don't have to dig all over the bowl with chicken hands. I'm using the 5" Santoku Knife to cut the chicken breasts, and you can see how cleanly it does the job. This is my favorite knife in the entire Collection because it fits the most things. That's the Large Grooved Cutting Board, and it's sitting across my sink to give me extra counter space.

Shove some toothpicks along the seam, and sprinke the chicken with Salt and Pepper. In a recipe like this, where that's the only seasoning the meat gets, quality matters. I always use the Pampered Pantry seasoning, and I can tell a huge difference. Plus, the Bamboo Salt and Pepper Grinders are just fun!


After cooking the chicken for four minutes, flip it over, and stick it in the oven. I'm using the 10" Skillet from the Executive Cookware Collection, and it is hands down my favorite piece of cookware. It's versatile, and it cleans up easily. You can see from the way the oil is beaded up that this cookware can be wiped clean in no time.


You can save a lot of a meat's juice by checking doneness with a meat thermometer. I love that the Digital Pocket Thermometer has a cheat sheet for a case.  This method for stuffing chicken can be used for any filling you want, so start experimenting, and get ready to be blown away!

Like the products you saw used?
Shop Online 24/7 at pamperedchef.biz/jennylyn
E-mail me: chefjennylyn[at]gmail.com
Call me up: (205) 585-2464


Red Lobster's Cheddar Bay Biscuits

A few years ago, my sister gave me one of the coolest gifts I've ever received, a homemade cookbook. She scrapbooked several family favorites along with new recipes she knew I'd love. New recipes like this one for Red Lobster's Cheddar Bay Biscuits. I'm not going to ask why you go to Red Lobster, but I'll tell you the only thing I care about having is the bread basket.

Red Lobster's Cheddar Bay Biscuits
chefjennylyn.com

2 cups Biscuick
2/3 cup milk
1/2 cup shredded Cheddar Cheese
1/2 cup butter, melted
1/4 tsp. garlic powder
Preheat oven to 450 degrees
Mix Biscuick, milk, and cheese until soft dough forms. Drop by spoonfuls onto stone.
Bake 8-10 minutes until golden brown.
Mix butter and garlic powder. Brush liberally over warm biscuits before removing from stone.
Serve warm.


Biscuick isn't a pantry staple for me. After buying this box, I figured I should have looked up a substitute online, but instead I'll make all of those oh-that-calls-for-Biscuick-but-I-don't-have-any recipes over the next few months. Anyway, the Professional Shears are wonderful for opening packages like this. Have you ever ripped open a bag of cake flour only to have it go everywhere? Not. Fun. My bowl of choice tonight is the Classic Batter Bowl. Heavy glass, measurements embossed in the sides. Pour spout. Handle. Lid. Awesome.

Thank you, Easy Conversions Magnet! I wanted to cut this recipe in half, but I didn't know what to do about 2/3 cup of milk. For people who are good at math, this might seem simple, but for those of us whose hearts race at the thought of simple addition without a calculator, it's kind of tough. Seeing that 2/3 cup is 10 tbsp. + 2 tsp. made life easy, so with that I used 5 tbsp. + 1 tsp., and I was ready to go. My cheese is in the Measuring Cup Set, and I've got milk in an Easy Read Measuring Cup, the Mini specifically. Remember what I said about Biscuick's rare place in my kitchen? Thanks to a Twixit! Clip, I don't have to worry about this drying out any time soon.


This is sticky dough, so it helps to use a scoop. I used the Large Scoop, and I got uniform biscuits without hassle. The Small Mix 'n Scraper kept me from leaving dough in the Batter Bowl, and I promise I got my last biscuit simply by scraping the sides.


What a fun cookbook! I love that it's full of things chosen specifically for me by my sweet sister.
I baked these on the Medium Round Stone, but this is the old version that doesn't have handles. It's still going strong after several years, so I can't bring myself to replace it. That said, I really want one with fancy handles! To melt my butter, I put it in the Small Batter Bowl and stuck that in the oven while the biscuits baked. Then I stirred in my garlic powder with the Skinny Scraper and brushed it on with the Chef's Silicone Basting Brush. Notice how the basting brush is hanging on the side of the bowl? That's thanks to the handy hook on the back.


Beautiful, golden bottoms thanks to Stoneware. With even heat distribution, these results are typical. Ok, so make these soon, and quit ordering endless shrimp just so you can eat endless bread.

Like the products you saw used?
Shop Online 24/7 at pamperedchef.biz/jennylyn
E-mail me: chefjennylyn[at]gmail.com
Call me up: (205) 585-2464