Showing posts with label cheese. Show all posts

Tuesday, April 15, 2014

Blue Cheese Coleslaw


Guess what?  I hate blue cheese.  Guess what else?  I love this coleslaw.  I don't know how that happens, but I'm pretty sure this is one of my favorite side dishes now.  When my brother and his family moved from Memphis to Birmingham, I started eating at their house a good bit.  I mean, I was single, and I wasn't cooking a whole lot.  Then there was my sister-in-law Shannon and her knack for finding good recipes, so why would I ever turn down an invitation?  (Of course my adorable niece and nephews had nothing to do with my being there so much...)  One meal in particular blew my mind: beef brisket with homemade bbq sauce, some kind of salad, and blue cheese coleslaw.  I don't know - maybe I was just really hungry that night, but yeah, I went pretty nuts on everything.  When my husband and I recently accepted a dinner invitation that involved grilling burgers, I knew the time was right to try my own hand at Shannon's masterpiece.

Blue Cheese Coleslaw
chefjennylyn.com

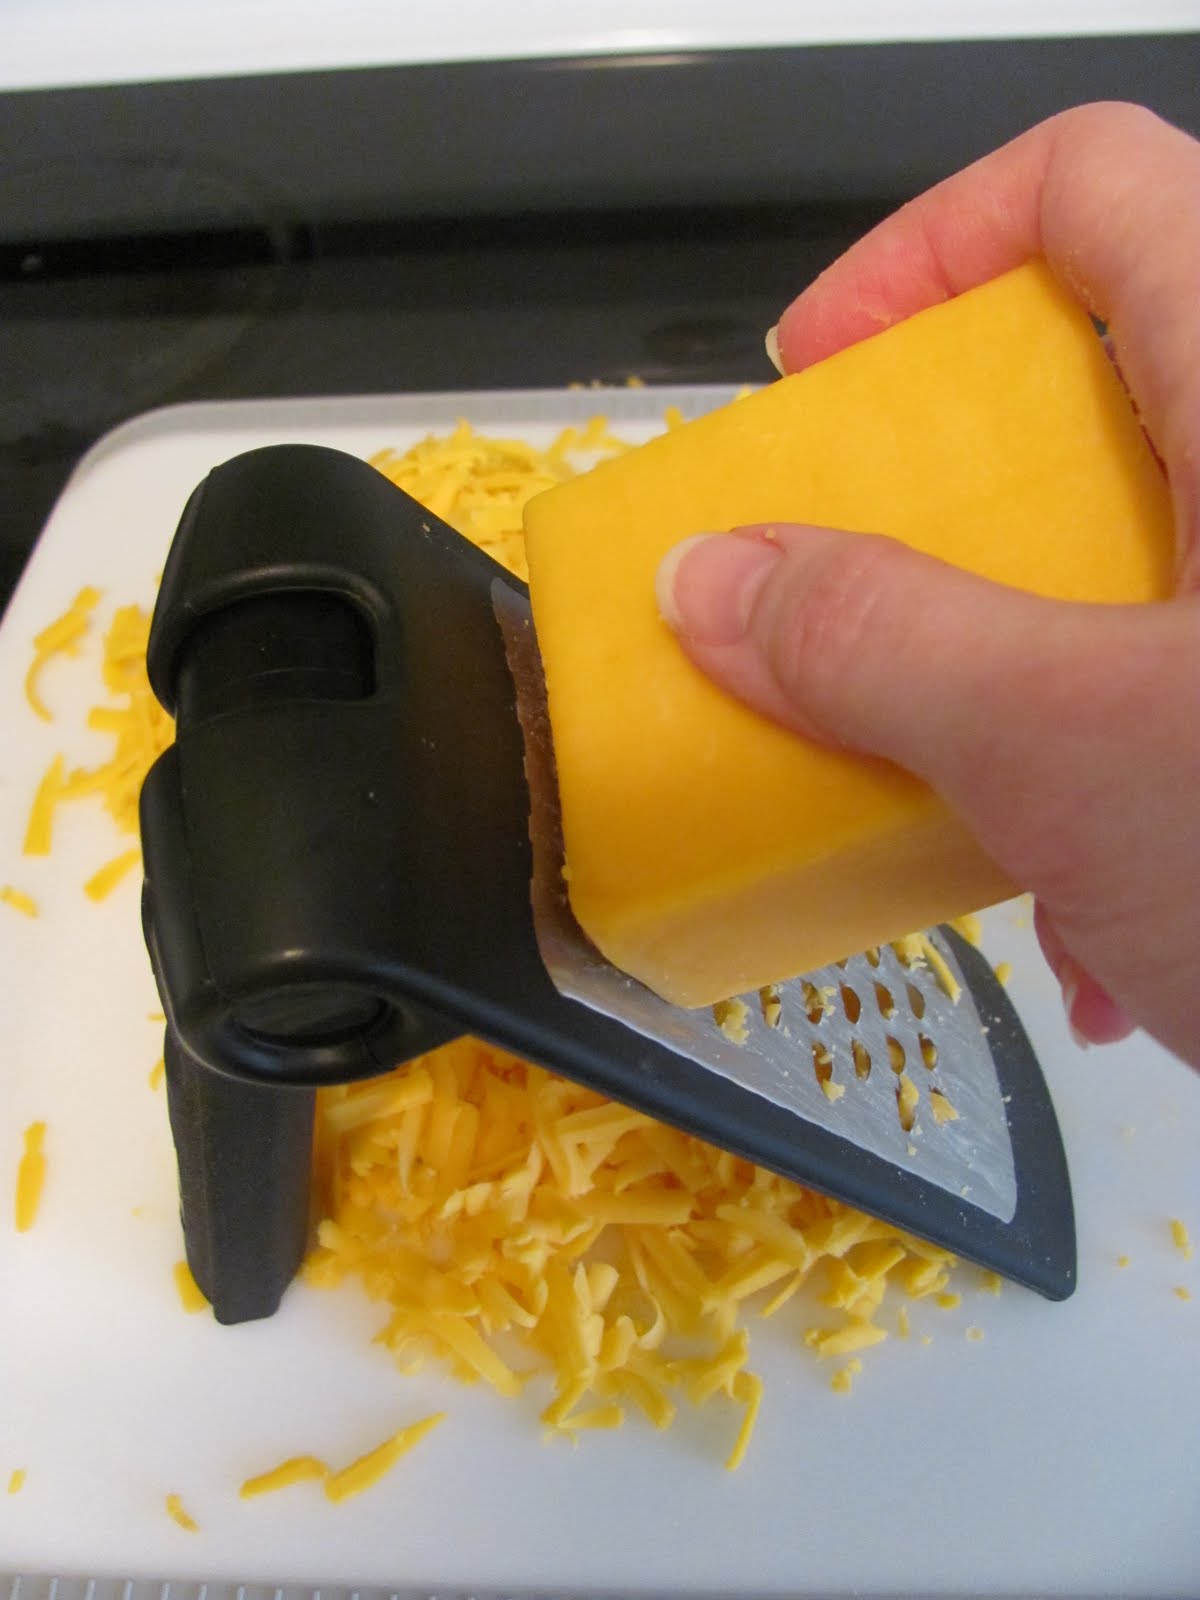
2 pounds cabbage, shredded (I used coleslaw mix.)
8 oz. blue cheese, crumbled
1/2 cup apple cider vinegar
1/4 tsp. dry mustard
1 1/2 tsp. celery seeds
2 cloves garlic, minced
1/2 tsp. salt
Pepper to taste
2 tbsp. sugar
1/4 cup minced onion
3/4 cup vegetable oil

In a large bowl, toss cabbage and blue cheese together.  Chill one hour.
Whisk remaining ingredients in a separate bowl.  Chill one hour.
Toss together just before serving.
Serves 8-10

Note: I cut the recipe in half to serve 4-5.
Shannon got this recipe from Treebeards, a restaurant she enjoys.


The original recipe serves 8-10, but I decided to cut that in half.  What happens when you want half of 1 1/2 teaspoons of celery seed?  The Adjustable Measuring Spoon does 3/4 tsp.!  How awesome is that?  The above ingredients are organized on the Cutting Board using the Scoop 'n Measure, Measuring Spoons, an Adjustable Measuring Spoon, and an Easy Read Measuring Cup.  I always do this before adding anything to a mixing bowl because I can avoid this scenario: Add a few things.  Phone rings.  Answer.  Don't remember if I already added the sugar/salt/etc.  When it's all right in front of you, you're less likely to make mistakes.


Again, cutting the recipe in half, I ended up with an awkward measurement.  I needed half of 3/4 cup of oil.  Guess what?  This Easy Read Measuring Cup shows that 3/4 cup is 6 oz., so I can just measure to... 3 oz. It's the little things!


This never gets old.  If you don't have the Garlic Press, stop what you're doing, call me, and order one.  You don't have to peel the garlic!


Cabbage mixture + blue cheese = Get ready for awesome!


The cabbage/blue cheese mixture is in the Medium Stainless Mixing Bowl, and everything else is whisked in the Small Stainless Mixing Bowl.  I used a Bamboo Spatula and the Mini Stainless Whisk to get these mixed to perfection.


This is a beautiful, refreshing, adult side dish that you can be proud to take to your next gathering.  The fact that it's insanely easy to put together is just a bonus.  Let me know if you make it!

Like the products used?
Shop Online 24/7 at pamperedchef.biz/jennylyn
E-mail me: chefjennylyn[at]gmail.com
Call me up: (205) 585-2464


Thursday, October 6, 2011

Southern Cheese Straws

You know what's delicious? Food that contains a pound of cheddar cheese. In the South, cheese straws are a bit of a staple, and no one questions the ratio of cheese to flour. I'm convinced the only reason this recipe calls for any flour is simply to hold the cheese together, but that's part of its beauty. If you Google "cheese straws," you'll come up with countless recipes, and I don't know that any one is better than the others. I came across this one at Belle of the Kitchen, and I was convinced it was worth trying because they were the blog's author's grandfather's signature recipe. Did you get all that? If a recipe is worth passing through generations, it's a keeper.

I made these for one of my sister's wedding showers, and I was very pleased with the result. While my first attempt at cheese straws was more like cheese coins than the beautiful crackers in Belle's post, I figured it just gave me an excuse to try again soon! So here I'll share my adaptation on the original recipe, and you can decide what you'd like to do. Enjoy!


Southern Cheese Straws
chefjennylyn.com

1 pound New York extra sharp cheese
1 stick butter, softened
2 cups flour
3/4 teaspoon cayenne pepper (use a full teaspoon if you like them especially spicy)
dash of paprika

Preheat the oven to 350°. Grate the cheese. Then, using a food processor, mix the cheese and the butter. Add the flour, pepper and paprika a little at a time to the mixture and pulse until well combined and very soft.

Either place the dough in a metal cookie press fitted with a flat disk and squeeze onto an ungreased cookie sheet, or scoop small balls of dough onto sheet, flattening slightly.

Bake for 10-15 minutes, until they just start to darken. Sprinkle with kosher salt when they come out of the oven. If done with a cookie press, cut into pieces when they are still warm.


A pound of cheddar is no joking matter. Fortunately, I was using my Microplane Course Grater, which made quick work of the "shred cheese" step. I love that this tool adjusts, and it comes with a protective sleeve to spare my knuckles when I reach in kitchen drawers. When cooking, it's worth it to use block cheese because it doesn't contain the wax that keeps pre-shredded cheese from sticking to itself when packaged.

My cheese, etc. is on the Large Cutting Board, and the arsenal of tools is as follows: Cheese Knife, Adjustable Measuring Spoon, Dots Pasta Bowl, Measuring Cup Set, Microplane Coarse Grater, and Stainless Mixing Bowl. Things are about to get crazy.

I don't have a food processor, so every recipe that calls for one requires a second look before I can commit. In this case, I knew I could simply knead my dough by hand after doing what I could with a hand mixer. Welcome to a whole lot of cheese with a little bit of flour.

The Small Scoop is seriously the greatest thing ever. Just scoop out the dough, press it slightly with your hand, and you're set! I used the Large Bar Pan with Parchment Paper, and I also used a Cookie Sheet.

Before becoming the baked perfection that is a Southern cheese straw.

These were successful. They may not have been the correct shape, but the flavor was there, and I came out with a go-to recipe for the future. These are displayed on the Dots Oval Platter from the Simple Additions Collection, and they're perfectly complemented by a beautiful spread of shower food. Someone else want to have a bridal tea so I can try this again?

Like the products you saw used?
Shop Online 24/7 at pamperedchef.biz/jennylyn
E-mail me: chefjennylyn[at]gmail.com
Call me up: (205) 585-2464


Thursday, August 25, 2011

Marinated Cheese

I'm a sucker for appetizers. I think more people than are willing to admit it secretly crave party food. You know what I'm talking about... all those little things that make you feel like you're not eating much even though you're probably eating way more than you would in a typical meal. I'm Jenny, and I'm that person. Give me a plate, a table of appetizers, and leave me to take care of business.

My friend Holly made this for a party over a year ago, and she was kind enough to give me the recipe. It's been on my mind since then, and I knew this past weekend was the perfect opportunity to indulge. Some friends and I threw a bridal shower, and marinated cheese was one of the most popular dishes. Hello, appetizers: I love you.


Marinated Cheese
chefjennylyn.com

8 oz. regular cream cheese
8 oz. sharp cheddar cheese
1/2 cup olive oil
1/2 cup white wine vinegar
3 tbsp. chopped fresh parsley
3 cloves garlic, minced
3/4 tsp. dried basil
1/2 tsp. salt
1 tsp. sugar
1/4 tsp. pepper
2 oz. pimento
Crackers (for serving)

Freeze cream cheese a few minutes for easy slicing, but don't leave it in the freezer long enough to change consistency. Slice both cream cheese and cheddar cheese into thin squares, and place in dish, interchanging pieces.

Combine remaining ingredients, and pour over the cheese. Try to keep the "stuff" on the cheese, and let the juices run to the bottom. It's best to make this several hours ahead to let it marinate.

The Garlic Press - seriously. People who have it love it, and people who don't have it realize their struggle with garlic can come to an end with one simple purchase. You don't have to peel the garlic! Just pop the clove in the hopper, give it a squeeze, and watch the good stuff come out while the peel stays behind. Also, this means you're not getting garlic all over your hands, which is nice if you plan to be around other humans or small animals.

I'm a sucker for prep work, so here it is. With recipes like this one, it's easy to lose track of what you've mixed and what you haven't, so it helps to lay it all out ahead of time. (No one wants your nasty marinade with double the salt.) I'm using Measuring Spoons, and Adjustable Measuring Spoon, a Pinch Bowl, the Garlic Press, Easy Read Measuring Cups, the Herb Keeper, and the Large Cutting Board. Let me just say this about the Herb Keeper: amazing. Not only does it keep me from fighting gross produce sacks, but it legitimately keeps herbs way longer than anything else I've ever tried (like produce sacks). The top comes off to create a little bowl to chop herbs easily, which is a great feature on a recipe like this.

So my marinade is whisked in the Small Batter Bowl using the Stainless Mini Whisk, and now it's time to slice cheese. The Cheese Knife makes pretty quick work of this because it's got a long, heavy blade, complete with pokey tool. As with everything sharp, this comes with a protective sleeve. Love the Cheese Knife!

Ok, could this be any simpler? I didn't think so. This is an appetizer that feeds a lot of people, looks beautiful, and can hang out at room temperature a few hours. And unlike many appetizers, this won't break the bank. It's in the Dots Medium Round Bowl from the Simple Additions Collection, and I think the colors work well together. Also, the shallow bowl keeps marinade on the cheese without letting the presentation go from pretty to pretty gross after people serve themselves.

You're crazy if you don't make this for your next party. There, I said it.

Like the products you saw used?
Shop Online 24/7 at pamperedchef.biz/jennylyn
E-mail me: chefjennylyn[at]gmail.com
Call me up: (205) 585-2464


Friday, April 15, 2011

Cheese Grits

Grits are misunderstood in many parts of the country, but the South has nailed this one. Much like Bubba with shrimp, a true Southerner can name many a method for grit preparation, all of which bring a smile to the face and saliva to the tongue. I, however, have never considered myself a true Southerner, so I won't pretend to be an expert. Here's what I do know: Cheese grits are stuff of Heaven, and if they're prepared correctly, they can turn an "eh" meal into something worth writing home about... or blogging. This recipe is courtesy of my sweet friend Elizabeth, and she wasn't lying when she told me these were the best cheese grits in the world.

Cheese Grits
chefjennylyn.com


4 cups water
1/2 tsp. garlic powder
1 tsp. salt
1 cup quick grits (Make sure these aren't instant - will say 5-min. on package)
2 (12 oz.) packages Stouffer's corn souffle, thawed
2 cups Mexican cheese blend
1/2 tsp. cayenne pepper
4 tbsp. butter

Preheat oven to 350 degrees.

Combine water, garlic powder, and salt in a pot.
Bring to a boil, and whisk in grits.
Reduce heat to medium, and cook (covered) until thick.
Remove pot from heat, and whisk in corn souffle, cheese, cayenne pepper, and butter.

Spread in 9x13 pan and bake 30 minutes.


My friend Rebecca made these with me, and she got to experience my prep work obsession firsthand. "Rebecca, this is what keeps you from forgetting ingredients, blah, blah, blah." Anyway, water is measured into an Easy Read Measuring Cup, and garlic powder and salt are in a Pinch Bowl. Then I've got grits waiting in a Measuring Cup with cayenne pepper hanging out in a Measuring Spoon. All of this, of course, is on the Cutting Board so I can attempt to keep my work surface clean. Key word: attempt.


I had to be shown what corn souffle looked like, so I'm going to do you the same courtesy. This is also a picture of anticipation, everyone. I'm about to have a Rectangular Baker full of cheese grits in my kitchen. Life is good.

Rebecca is a genius when it comes to stirring grits. She's got them in the 8-Qt. Executive Stockpot, and she's stirring with the Silicone Whisk to keep from scratching the coating. (P.S. about the Executive coating - This isn't Teflon.) Warning: Grits pop, so keep them covered, and watch out when you remove the lid to stir.

Cayenne pepper delivers kick! Now it feels like everything's coming together. After adding the "remaining ingredients," give the pot a good stir to make sure no grits are left uncheesed. To avoid such tragedy, I'm using the Classic Scraper to get every nook and cranny along the pot's bottom.

Yes, this is really a Rectangular Baker full of cheese grits. Against our better judgement, Rebecca and I each limited ourselves to one serving. Now my fridge is full of leftovers, but there are worse things.

Like the products you saw used?
Shop Online 24/7 at pamperedchef.biz/jennylyn
E-mail me: chefjennylyn[at]gmail.com
Call me up: (205) 585-2464

Wednesday, March 2, 2011

Artichoke, Spinach, and Feta Stuffed Shells

It's hard to make a picture of stuffed shells look appetizing. Let's just be honest: They look better in person. Bless their little hearts for being kind of "eh" for their close-up. The bottom line here is that this is one of my favorite recipes, and it's never had less than rave reviews when I've made it for other people. So this post of for everyone who's asked for the recipe over the last few months only to have me say, "Yes, I'll send that to you!" My problem is making myself stop to type out a recipe I cut from an 8-year-old magazine. Yes, I could scan it, but I'm a notes-all-over-my-original-recipe kind of girl, and that's just embarrassing to share with the world. ("You tripled the cheese, Carden? Really? I think I figured out your weight problem...")

So to all of you who have waited patiently, I give you my version of Cooking Light's Artichoke, Spinach, and Feta Stuffed Shells. With extra cheese.


Artichoke, Spinach, and Feta Stuffed Shellschefjennylyn.com


1 tsp. dried oregano
1/4 tsp. crushed red pepper
1 (28-oz.) can fire-roasted crushed tomatoes with added puree
1 (8-oz.) can tomato sauce
1 cup shredded provolone cheese, divided
1 cup crumbled feta cheese
8 oz. fat-free cream cheese, softened
1/4 tsp. freshly ground black pepper
9 oz. artichoke hearts, drained and chopped
10 oz. frozen chopped spinach, thawed and drained
2 garlic cloves, minced
12 oz. jumbo shell pasta, cooked

Preheat oven to 375 degrees.

Combine first 4 ingredients in a medium saucepan. Place over medium heat; cook 12 minutes or until slightly thick, stirring occasionally. Remove from heat, and set aside.

Combine 1/2 cup provolone and the next 6 ingredients (through garlic) in a medium bowl. Spoon or pipe about 1 1/2 tbsp. cheese mixture into each pasta shell. Place stuffed shells in a 13x9-inch baking dish. Spoon tomato mixture over shells; sprinkle with remaining 1/2 cup provolone. Bake for 25 minutes or until thoroughly heated with melted cheese.

Jenny's recipe note: Use a lot more cheese. A hearty amount of shredded mozzarella on top makes everyone happy.


Big surprise - I heart prep work. My cheeses are ready to go in the Easy Read Measuring Cups, a set that will absolutely change the way you feel about measuring. Before I had these, I fumbled around like crazy, but now I'm all smiles when measuring, and I have a look of sheer contentment on my face when I hit the right mark. (Imagine a Snuggie commercial.) Ok, so maybe it's not that drastic, but these really are great. My oregano is in a Pinch Bowl, and I've got red pepper measured in in an Adjustable Measuring Spoon. Then there's the Smooth-Edge Can Opener... best. can. opener. ever. People buy these and then order more for all their family members. It's a beautiful thing.


I love the 8-Quart Stockpot from the Executive Cookware Collection. You know what's annoying and/or unsafe? A big pot of boiling water and noodles that's not easy to handle. Thank you, 8-Qt. Stockpot for making the "cooked according to package directions" step of this recipe bearable. Behind my big pot, I've got the 1.5-Qt. Saucepan with cream cheese softening. Yes, I'm the girl who always forgets to soften the cream cheese and then heats it while I do other steps of the recipe. That's the Skinny Scraper in the cream cheese and a Bamboo Spoon in the noodles.

This is my artichoke/noodle station. AKA: My kitchen sink. I can't say enough about the value of a cutting board that fits over the sink, and that's exactly what the Large Grooved Cutting Board does. In a small kitchen, this is fabulous. Then I've got my Colander & Bowl Set doing its thing and simplifying life. The Food Chopper makes chopping artichokes ridiculously easy, and then I can just take it apart and stick it in the dishwasher. The Handy Scraper is crucial when transporting chopped artichokes from the cutting board to the bowl. Then there's the Garlic Press...


So about the Garlic Press: Love. There is no substitute for fresh garlic in a recipe, but a lot of people avoid it because of the peeling. Honestly, if I didn't have good tools that kept my hands away from the gross stuff, I'd have a jar of who-knows-how-old garlic in my fridge, too. So I don't judge. This is what it looks like to use fresh garlic with the Pampered Chef Garlic Press. A lot of times, the whole peel will come out on the hopper, and you don't even have to get it out of the press. If you do need to get it out, however, there's a handy tool for that. Yes, they think of everything. Besides, you don't get to use the word "hopper" with a jar of garlic.


So now it's time to assemble the recipe. I'm using my favorite bowl from the Stainless Mixing Bowl Set, and the Mix 'n Scraper made it crazy easy to stir all those thick ingredients together. To fill the shells, I stick a Ziploc bag in the Measure-All Cup, fill it with the Classic Scraper, and close it off using a Twixit! Clip. Then I can just snip the end and fill shells easily.


Line the shells up in the Rectangular Baker, top them with sauce, cheese, and more cheese, and you're good to go! Just bake this beauty until you like the way it looks, and enjoy. This ladle is from the Specialty Nylon Tool Set. I love leaving tools in pots and pans without wondering if they're going to melt when I walk away.
This recipe is awesome. I don't know what else to say about it. My grandmother gave me a stack of old Cooking Light magazines, and this is my most treasured find from the haul. It's a great meal to serve dinner guests, and it's also perfect for taking to others. If you do that, just make it ahead, leave it unbaked, and let the lucky recipient cook it up when ready.
Enjoy, and tell me if you do!

Like the products you saw used?
Shop Online 24/7 at pamperedchef.biz/jennylyn
E-mail me: chefjennylyn[at]gmail.com
Call me up: (205) 585-2464