Showing posts with label baking pan. Show all posts

Saturday, February 5, 2011

Triple Layer Brownies


Brownies. How many brownie recipes have you seen? I'm kind of a sucker for trying variations on the classic treat, but this one kind of fell in my lap. Every Pampered Chef product includes a recipe, and this came with my new Rectangle Baking Pan. There's even a picture of them in the catalog, so it's like they were calling out to me. When my plans to visit my sister in Houston fell through due to weather, I figured there was only one thing to do: Call my best friend to come bake brownies. The kind with three layers.


This is Elizabeth. See why she's my best friend? Look at that recipe card - so handy for sticking right in your recipe file or binder!


Triple Layer Brownies
www.chefjennylyn.com

1 cup quick or old-fashioned oats
1/2 cup salted, dry-roasted peanuts, chopped
1/2 cup packed brown sugar
1/3 cup all-purpose flour
1/4 tsp. baking soda
1/2 cup butter (1 stick), melted
1 pkg. fudge brownie mix (plus ingredients listed)
3/4 cup semi-sweet chocolate chips
1/2 cup creamy peanut butter


Preheat oven to 350 degrees

Spray Rectangle Baking Pan with nonstick cooking spray. Combine oats, peanuts, brown sugar, flour, and baking soda in a large mixing bowl. Add butter; mix well. Press oat mixture onto bottom of pan; bake 8 minutes. Remove from oven.

Prepare brownie mix according to package directions. Spoon batter over crust; carefully spread to edges. Bake 24-28 minutes or until wooden pick comes out clean. Cool completely.

Combine chocolate morsels and peanut butter in small, microwave-safe bowl. Microwave on HIGH 1 minute; stir until smooth. Spread chocolate mixture evenly over cooled brownies.

Cool until chocolate mixture is set, and cut into bars.


The Classic Batter Bowl is the perfect size for a brownie mix, and the Stainless Whisk has never let me down. It doesn't get junk stuck in it, and it never rusts or comes apart. The one pictured here is ten years old. Always crack your eggs into a Prep Bowl in case you get a bad egg. This is the 1-cup Easy Read Measuring Cup, and you can see how easy it makes measuring liquids. No holding a cup up and struggling not to spill!


Beautiful ingedients about to become "oat mixture." The Stainless Mixing Bowls have changed my life. Lightweight. Rubber grip on bottom to prevent sliding around. Handle. Measurements. Pour Spout. Lid. Love.


Press the oat mixture into the pan! Don't be shy about getting your fingers greasy 'cause they'll wash. Trust me.
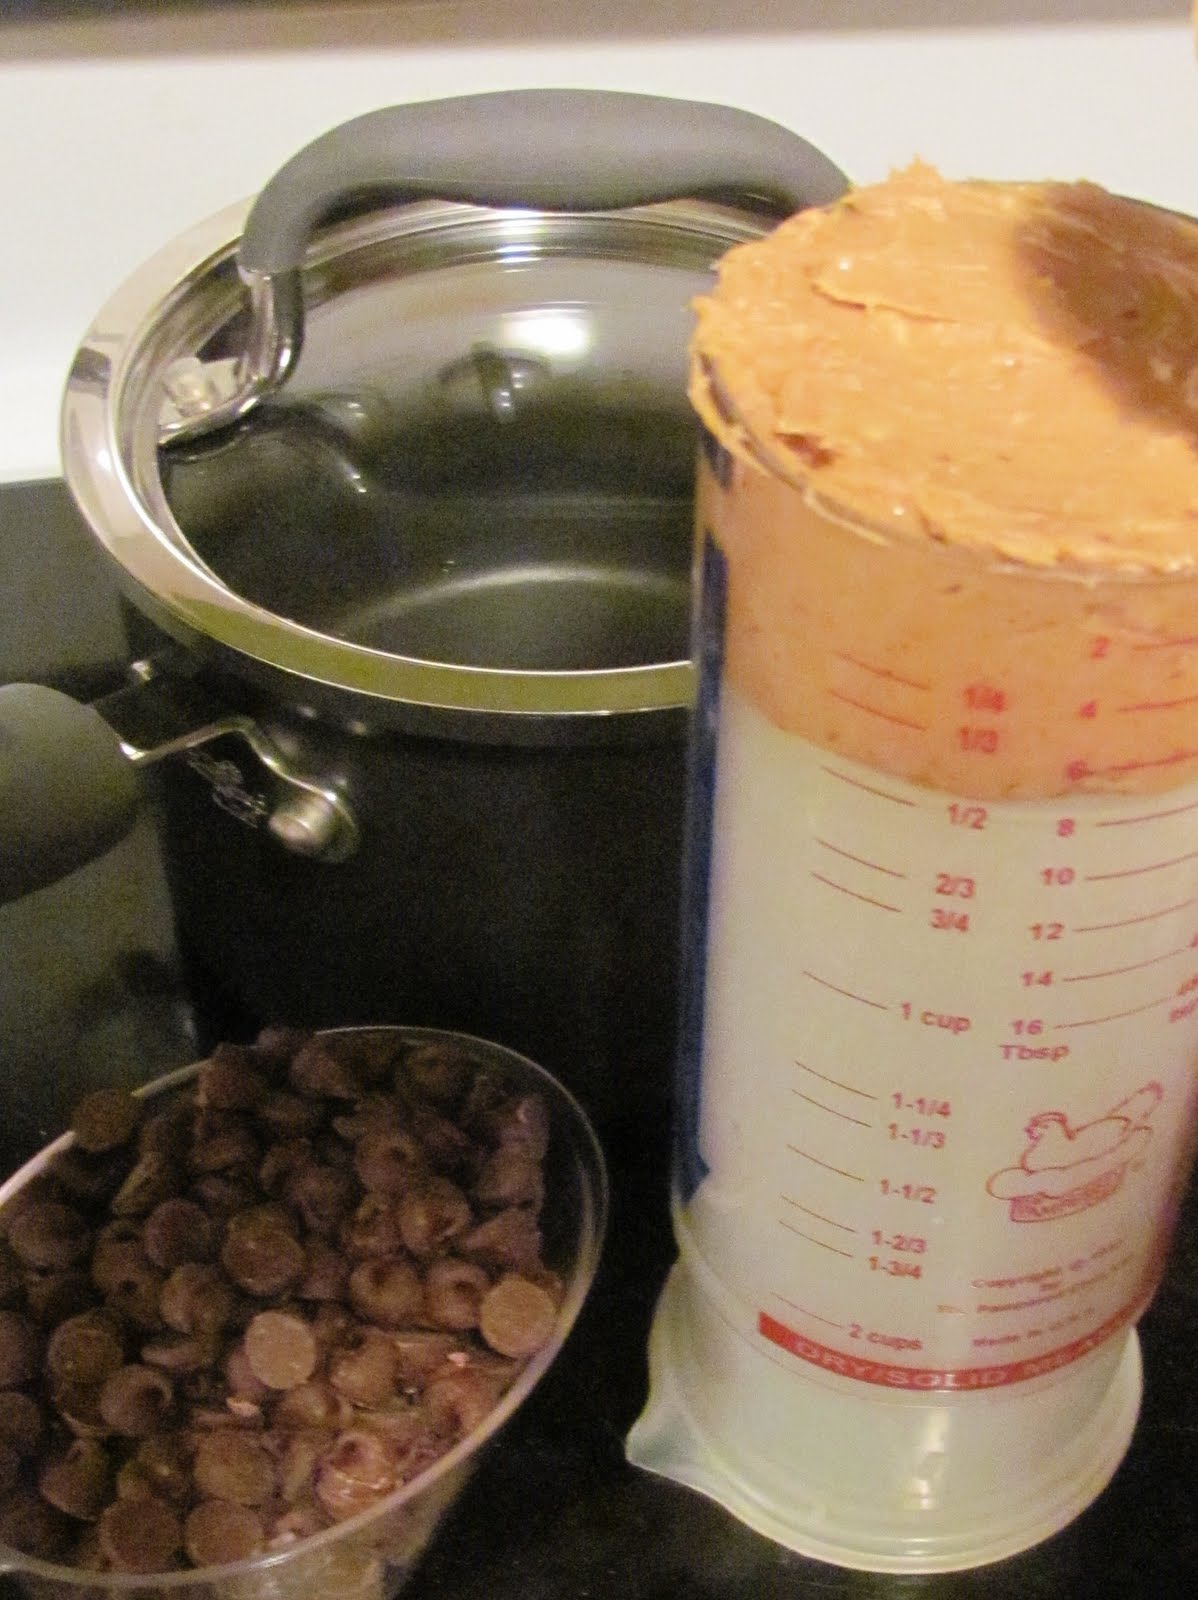


This is about to become the topping. I love having a 3/4-Cup Measuring Cup! Also, the Measure-All Cup is a game changer. Mine is ten years old (notice that pretty chicken logo from the old days), and it's still holding its own! Push it to the measurement you need, fill it with whatever gross, sticky ingredient you're using (peanut butter, sour cream, honey), and pop it out. No mess, and no struggling to dig the last bit out of a standard measuring cup. Lastly, check out that 1.5-Quart Covered Saucepan from the Executive Cookware Collection. I'm in love with Pampered Chef cookware. It's beyond words in quality, durability, ease of use, and more.
* The recipe says to do this step in the microwave, but I don't have one. My kitchen is small, and extra real estate on the counter outweighs the convenience of a microwave.


The brownies are cooled, and it's time to spread the topping. Notice the edges of the brownie layer. Do they look hard, burned, or unappealing in any way? Thanks, Rectangle Baking Pan! Also, this is the Skinny Scraper. How often do I use it? Constantly.
NOTES: I didn't have creamy peanut butter, so I used crunchy. Extra crunchy. Unfortunately, I think it messed up my topping a little. Fortunately, I didn't care. Also, I forgot to grease the pan. It didn't seem to make a bit of difference, but I'll attribute that to the stick of butter in the crust.

Like the products you saw used?
Shop Online 24/7 at pamperedchef.biz/jennylyn
E-mail me: chefjennylyn[at]gmail.com
Call me up: (205) 585-2464


Friday, February 4, 2011

Cooking Light Chocolate Chip Cookies


If you ignore this recipe simply because the words "light" and "chocolate" are side-by-side, it's your loss. Trust me on this... I just want what's best for you. That said, let's get another thing straight: These are not health cookies. Sorry to break this to you, but there is no such thing. That's my little disclaimer in case you want to fight me when your pants tighten in the back. Enjoy one or two (not to be confused with one or two dozen), and you'll be fine.

This batch of cookies is for my sweet friends Holly and Charlton. A few months ago, when he got to try these for the first time, Charlton told me I should sell them in a bakery. So what are you thinking about that "light chocolate" thing now?

Here's what I love about these: I can eat them without feeling gross afterward. Maybe it's the one stick of butter vs. two or the egg whites vs. whole eggs, but whatever it is, I like it. Also, these have a crunchy outside with a soft inside, making them perfect for milk dunking. And that's important.


Chocolate Chip Cookies
www.chefjennylyn.com
2 1/4 cups flour
1 tsp. baking soda
1/4 tsp. salt
1 cup packed brown sugar
3/4 cup granulated sugar
1/2 cup butter, softened
1 tsp. vanilla
2 large egg whites
3/4 cup chocolate chips

Preheat oven to 350 degrees

Small bowl: Whisk together flour, baking soda, and salt
Large bowl: Beat butter with sugars until fluffy (medium speed)
Add vanilla and egg whites; beat 1 minute
Stir in flour mixture and chocolate chips

Drop by tablespoons 2 inches apart, and bake 10 minutes per sheet. Yield 4 dozen cookies with 88 calories each.

Cookie baking essentials: Measuring Cup Set (includes odd measurements like 2/3 cup and 3/4 cup along with a leveling tool), Mix 'n Scraper (hello, easy stirring and scaped clean bowls), Stainless Scoops (uniform cookies!), and the Rectangle Stone (I shouldn't even start on Stoneware).

The Adjustable Measuring Spoons are essential. I love these things! There are two in the set, one going from 1/8 teaspoon to 1 teaspoon and the other from 1 teaspoon to 1 tablespoon. This is my jar of baking soda, and it's been the best way to recycle jam jars. I mean, who wants to fool with those stupid baking soda boxes?

When measuring, always level off your cup. That's one thing I love about these - the handy leveler! How nice to have a 3/4 Cup Measuring Cup!

Ok, prep work is done. Bowls used: 2-qt. and 4-qt. from Stainless Mixing Bowl Set and a 2-Cup Prep Bowl.

Question I get all the time: "Which scoop would you use for ________?"
Ok, the Small Scoop is about 1 tablespoon. It's perfect for cookies when you want to stretch the dough and get as much as the recipe says you will, and it's the ideal companion to the Deluxe Mini-Muffin Pan. It fits those cups perfectly, so you don't have to fumble around dripping cake batter, etc. all over the place.
The Medium Scoop is about 2 tablespoons, and it's great for standard cookies (the ones you know you make) and 2-bite cupcakes.
The Large Scoop is about 3 tablespoons, and it owns all things cupcake or muffin-related. Use it with the Stoneware Muffin Pan or Bakeware Muffin Pan for evenly filled cups every time. I never ever bake cupcakes without this scoop. Period.

Tip for chocolate chip cookie dough of any kind: Refrigerate. For years I avoided chocolate chip cookies because they would turn out flat and crunchy, but now I refrigerate my dough for maximum awesomeness. Another tip: Go ahead and scoop the cookies before putting them in the fridge. It's a lot easier when your dough is soft! 2-Qt. Stainless Mixing Bowl

Tip: When baking, do not overcrowd your cookies! You know the saying, "If it's worth doing, it's worth doing right?" Sure, the grammar's a little off, but the point is there. You just took time to make cookies from scratch, so don't get lazy in the home stretch. Space them properly to allow proper air circulation while avoiding those straight edges crowded cookies get. (The air circulation thing is explained in the Simply Sweet Cookbook.) This batch was made with the Large Scoop and baked on the Cookie Sheet, and you can see they turned out perfectly!

Small Scoop, Medium Scoop, Large Scoop, Cooling Rack

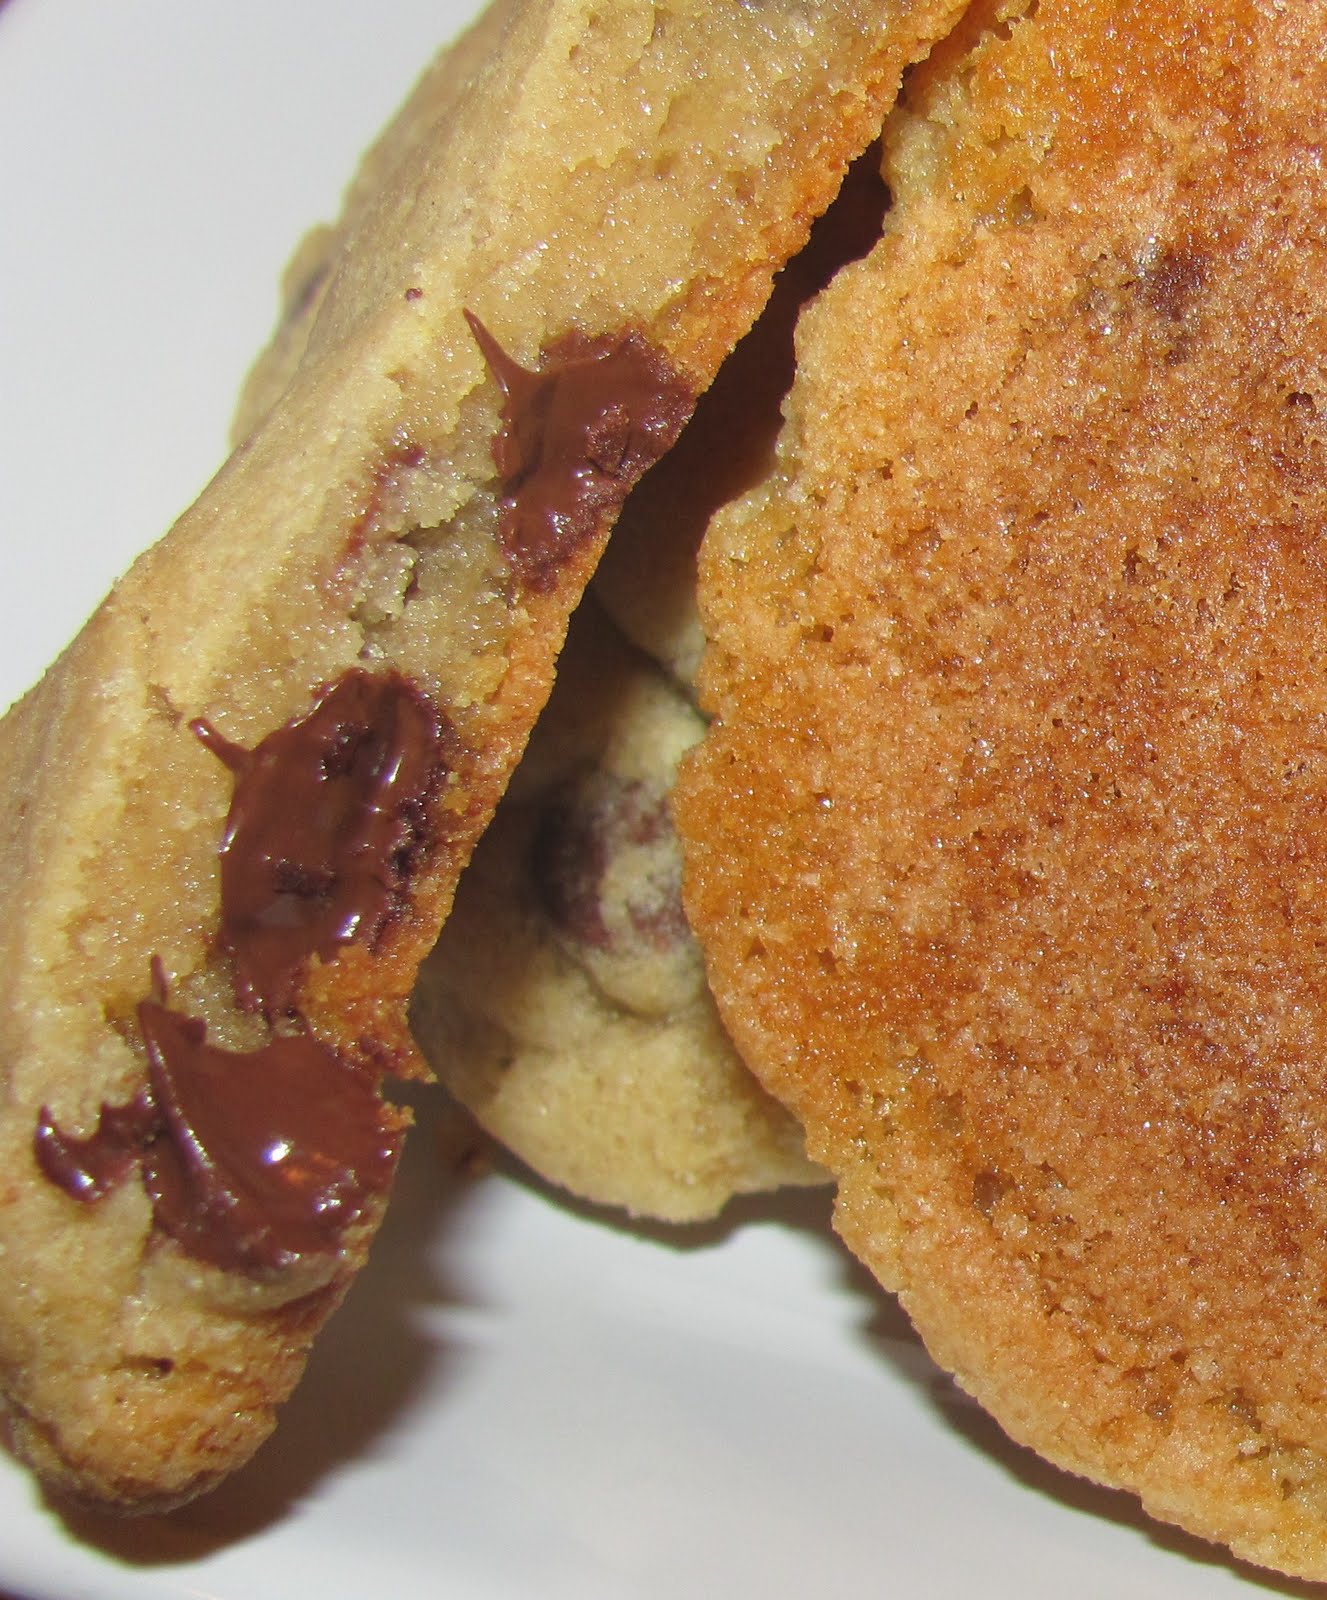
This last picture is just because I'm mean. These were oh-so-good!!! Check out those beautifully browned bottoms that were due to Stoneware and Bakeware.

Like the products you saw used?
Shop Online 24/7 at pamperedchef.biz/jennylyn
E-mail me: chefjennylyn[at]gmail.com
Call me up: (205) 585-2464