Showing posts with label Pie. Show all posts

Tuesday, May 27, 2014

Mile-High Strawberry Pie


This really happened!  Our friends Paul and Jenn had us over for Memorial Day dinner outside, and their table really was this beautiful!  Wouldn't you think it was straight out of a magazine?  I mean, Jenn knocked this thing out of the park, and it made me glad I brought my pie in a true presentation piece instead of a foil pan.  Yowsa!

When I knew I was leaving Alabama, I knew I'd be leaving my grandmother's stash of Southern Living magazines behind.  What did that mean?  I needed to become a subscriber myself.  You know, grow up, pay for the publication instead of mooching off your grandmother with her old copies, that sort of thing.  I now enjoy getting my little bit of South in the mail every few weeks, but I have to admit that I read very little.  Instead, I skip to the recipe section and rip out everything I want to make.  These mini pies were in the April issue, and I had a feeling they'd make it to my Memorial Day table.  I was correct, but I moved to the Mega Strawberry Pie version at the last minute when I ran out of time.  The result was a huge, delicious strawberry dessert that I'll be sure to repeat sometime.  For now, let me share it with you. 

Mile-High Mini Strawberry Pie
chefjennylyn.com

Pastry Crusts
1/4 cup powdered sugar
2 (14.1-oz.) packages refrigerated piecrusts
Creamy Lemon Filling
1 1/2 (8-oz.) packages cream cheese, softened                            
1 tablespoon sour cream                               
1/2 cup granulated sugar                             
2 teaspoons lemon zest                              
1 tablespoon fresh lemon juice                

Strawberry Topping
1 1/2 cups coarsely chopped fresh strawberries                
1 cup granulated sugar                
2 tablespoons cornstarch                               
1 tablespoon butter
10 cup hulled fresh strawberries                       

Vanilla Cream
1 cup heavy cream
1/4 teaspoon vanilla extract                
3 tablespoons powdered sugar                

1. Prepare Crust: Preheat oven to 425°. Sprinkle work surface with 1 Tbsp. powdered sugar. Roll 1 piecrust into a 12 1/2-inch circle on surface, and cut into 3 (6-inch) rounds. Repeat with remaining 3 piecrusts and 3 Tbsp. powdered sugar to make 12 rounds. Fit 6 rounds, sugar sides down, into each mold of a 6-cavity mini pie pan; fold edges under, and crimp. Prick bottom and sides with a fork. Chill remaining 6 rounds.

2. Bake at 425° for 8 minutes or until golden brown. Cool on a wire rack 5 minutes. Remove crusts from pan to wire rack, and cool completely. Cool pan completely. Repeat procedure with remaining 6 piecrust rounds.

3. Prepare Creamy Lemon Filling: Beat cream cheese and sour cream at medium speed with an electric mixer until smooth. Add 1/2 cup granulated sugar and next 2 ingredients; beat until smooth and fluffy. Spread about 2 1/2 Tbsp. filling into each cooled piecrust; cover with plastic wrap, and chill until ready to serve (up to 24 hours).

4. Prepare Strawberry Topping: Process 1 1/2 cups chopped strawberries in a blender or food processor until smooth, and press through a wire-mesh strainer into a 3-qt. saucepan, using back of a spoon to squeeze out juice; discard pulp. Stir 1 cup granulated sugar into juice in pan.

5. Whisk together cornstarch and 1/4 cup water; gradually whisk cornstarch mixture into strawberry mixture. Bring to a boil over medium heat, and cook, whisking constantly, 1 minute. Remove from heat, and whisk in butter. Cool 15 minutes.

6. Toss together strawberry mixture and 10 cups hulled strawberries gently in a large bowl until coated. (Halve some berries; leave others whole.) Cover; chill 3 hours or until cold.

7. Prepare Vanilla Cream: Beat heavy cream and vanilla at medium-high speed until foamy; gradually add powdered sugar, beating until soft peaks form.

8. Spoon about 1/2 cup Strawberry Topping into each pie; top with Vanilla Cream. Serve immediately.

Mega Strawberry Pie: Preheat oven to 425°. Reduce 1/4 cup powdered sugar to 2 Tbsp. and piecrusts to 1/2 (14.1-oz.) package. Sprinkle surface with 2 Tbsp. powdered sugar. Roll 1 piecrust into an 11-inch circle on prepared surface. Fit piecrust, sugar side down, in a 9-inch pie plate; fold edges under, and crimp. Prick bottom and sides with a fork. Bake 10 minutes or until golden. Cool completely on a wire rack. Proceed with recipe as directed in Steps 3 through 8, spooning all of Creamy Lemon Filling into prepared crust, and topping with all of Strawberry Topping and Vanilla Cream. Makes 8 to 10 servings Hands-on 40 min.; Total 4 hours, 50 min.

This recipe is from Southern Living.  If you subscribe, you won't regret it.


There are few things that make me smile like a huge colander full of perfect strawberries.  Add the fact that said berries were on sale, and I'll downright beam.  Take it in, friends... just take. it. in.


The best thing to do on a recipe with several steps is simply to get everything out and dive in.  Strawberries are washed and drained in a Stainless Mesh Colander.  I have scrapers, the Measuring Cup Set, the Measuring Spoon Set, and the Large Grooved Cutting Board ready to go.  My bottle of water also wandered into this shot because hydration is important.  Yeah... that.


I adore the Microplane Zester.  This is a size made specifically for the Pampered Chef, and let me just tell you that it's amazing!  I can get my zest right into my Pinch Bowl with this, and I don't have anything going willy-nilly on me.  I have other ingredients measured into a cup and spoons beside me.


Ok, so my lemon was massive.  It was so large that I cut the ends off to maximize my juice when I put it in the Citrus Press.  Since the juice and zest are going in the recipe at the same time, I put both in the same Pinch Bowl.


Why do the Pinch Bowls have pour spouts?  Because pouring an ingredient into a stand mixer on medium speed is no time to make a mess.  It's the little things.


Settle in because it takes a while to chop cups upon cups of strawberries.  The good news is that you can make it a lot more fun by using an awesome knife that doesn't require sawing.  My go-to for berries, grapes, and other small items is the 3 1/2" Paring Knife from the Forged Cutlery Collection.  More on that in a bit.


We have to make a strawberry puree.  Enter: Manual Food Processor.


A few presses on the lever, and you're done.  Just take the blade out, and use the base as your bowl.


This is a case where it's soooo nice to have the right tool for the job!  I'm using the 5" Strainer, which has a double-fine mesh design, over a 3-Quart Saucepan from the Executive Cookware Collection.  Notice that my strainer has a lip that hugs my pan so I can be hands-free.  Also notice that the lip is covered in silicone to avoid scratching my cookware's surface.  Have I told you how much I love Pampered Chef products?  14 years in the business, and these things still excite me!  That's the Mini Mix 'n Scraper that I'm using to strain the puree. 


A 2-Cup Prep Bowl and the Stainless Mini Whisk pair perfectly for the cornstarch concoction.  I've got a 1-Cup Prep Bowl there with the strawberry pulp my recipe told me to discard.  I interpreted that as, "Save pulp for your next smoothie."


Dicing strawberries is serious business.  Here's my method: Cut tops off all berries.  Quarter berries.  Go back through tops, using stems as handles, and cut off usable parts.  Most people don't do this last part, but if you've got a good knife, it doesn't take long, and in the case of this pie, I was able to yield an extra cup of berries.  Another option is to just core all of the berries before slicing them, but I've found that I just like doing the whole job with my 3 1/2" Paring Knife.  Love this thing!


My berries are in a Stainless Mixing Bowl, and I'm pouring the cooked liquid from the 3-Qt. Saucepan.  Notice the Stainless/Silicone Sauce Whisk in the background.  With that, I was able to whisk the mixture without scratching my pan.  Next, I'll gently toss the whole deal with the Mix 'n Scraper.
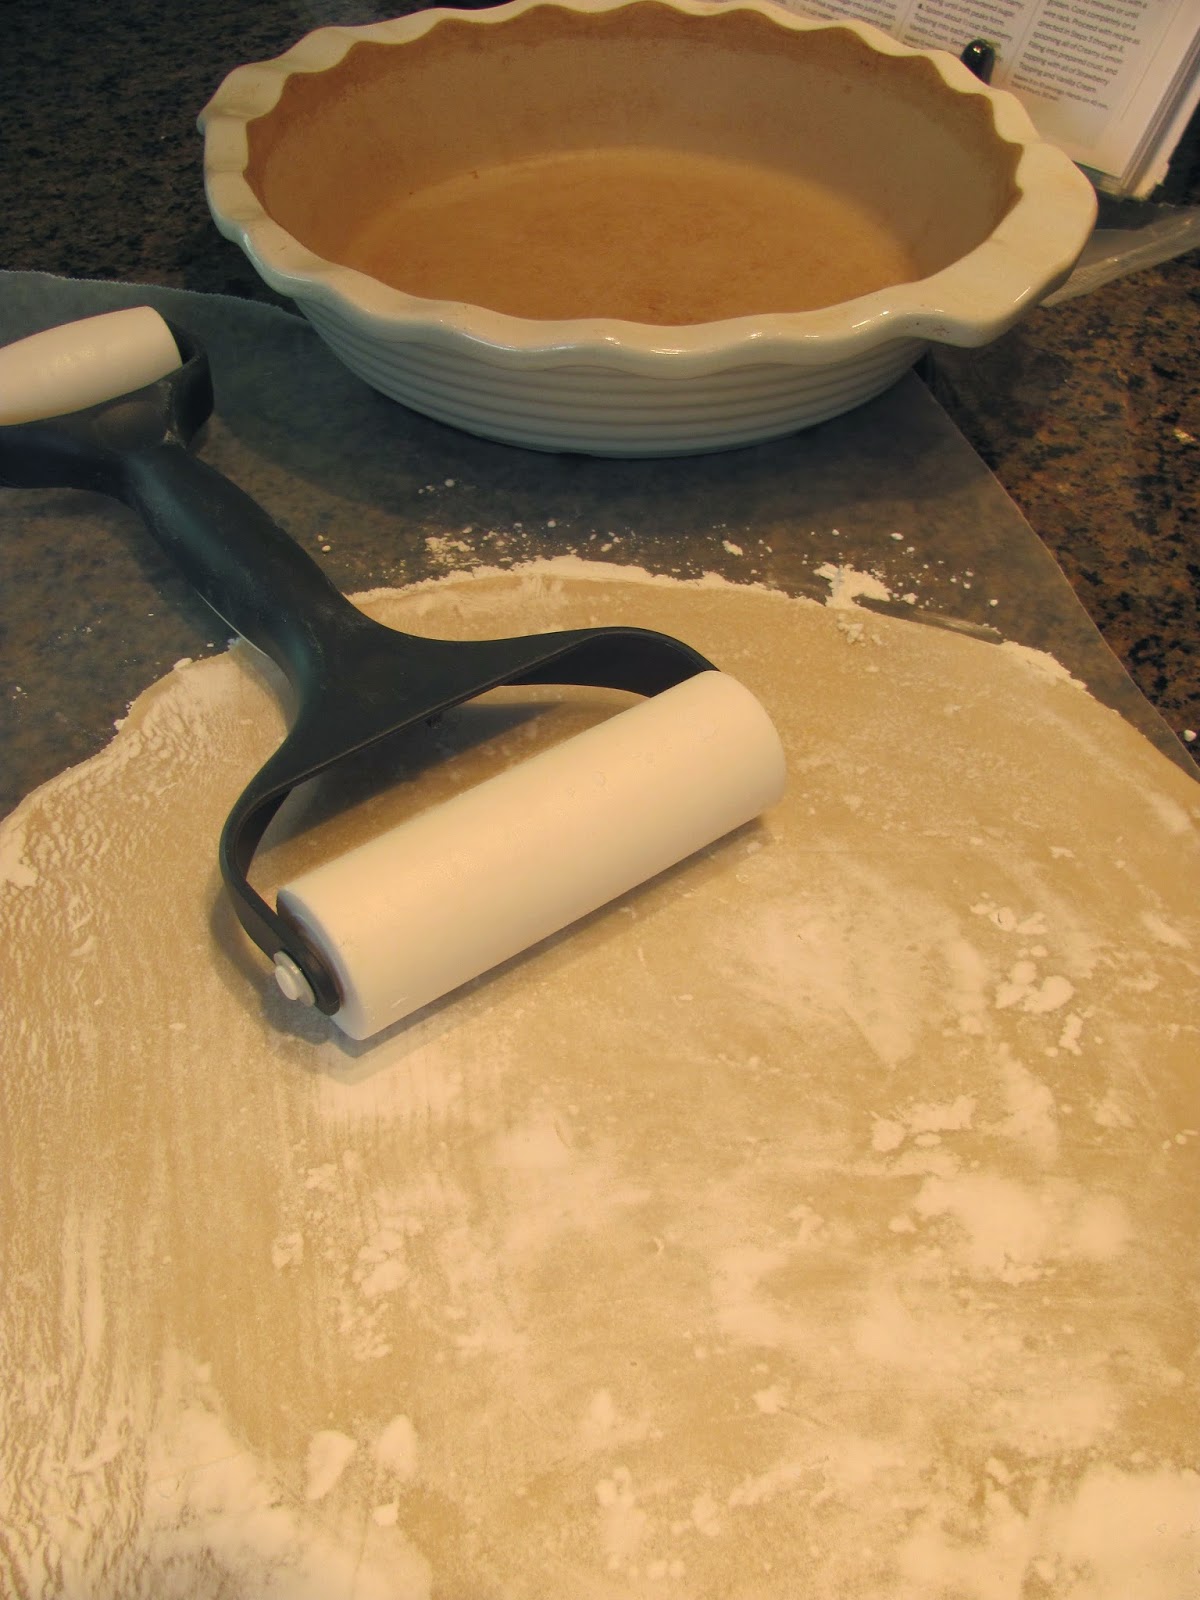

It's time for the Deep Dish Pie Plate from the Stoneware Collection! I love, love, love this piece!  I use it for pies and quiches, but I also do side dishes in it because it's so deep and makes a beautiful presentation.  Stoneware heats evenly throughout, so I don't ever have to worry about scorching in here.  That's a good thing when your finished product is going to your friends' house for a holiday meal.  You can see that I used my Baker's Roller to roll out my pie crust.  Then there's a pokey tool that clips inside the handle to poke holes in the crust before baking.


Ok, so all of the parts are ready and cooled or refrigerated, so now it's just about the assembly.  Oh, and the licking of the bowls.  That's an important step, too... Anyway, my cream and strawberries are in Stainless Mixing Bowls, and my lemon cream is in the stand mixer bowl.  Each has a Mix 'n Scraper, Mini Mix 'n Scraper, or Classic Scraper inside.  Ok, take a deep breath, and...


Happy Memorial Day, and happy dessert making all summer long, friends!


Like the products used?
Shop Online 24/7 at pamperedchef.biz/jennylyn
E-mail me: chefjennylyn[at]gmail.com
Call me up: (205) 585-2464


Saturday, April 7, 2012

Chocolate Chip Toffee Pie

Do you enjoy gooey things? Do you enjoy chocolate? Do you enjoy homemade desserts that don't break the bank? Do you enjoy nodding "yes" repeatedly? Ok, so here's the deal. I have good friends who send me recipes and blogs that make them think of me. When Holly forwarded me a recipe from Very Culinary, I made not only the cookies she suggested, but this pie, too. I mean, the picture looked great, and the ingredient list was short. Short enough, in fact, that I had everything on hand. I whipped this up for a party, and the rest is history. A massive headache (and about ten pounds) later, I decided this had to be shared with the world. Here I am a year down the road, and I finally made it with pictures.

This is one of those recipes where you can make the base and add whatever you have available. In today's case, I had toffee pieces begging to be used, so I went with more toffee than chocolate chips. Also, I'm not huge on nuts, but the original recipe calls for a cup of chopped walnuts or pecans. Bottom line: I use one cup of chocolate/candy and ditch all nuts. I'm writing the recipe the way I adapted it, but the original, along with a bunch of other great stuff, is over at Very Culinary.


Chocolate Chip Cookie Pie
chefjennylyn.com

1 stick butter, melted and cooled
2 eggs, well-beaten
1 cup sugar
1/2 cup flour
1 tsp. vanilla
1 cup chocolate chips, toffee pieces, or whatever else you like
1 unbaked pie crust

Preheat oven to 350 degrees.

Mix all ingredients, and place in pie crust. Bake 40-45 minutes.

Yes, that's all.


You know how I always go on and on about prep work? Well, a couple of days ago I was in a hurry making my favorite chocolate cupcakes with peanut butter icing, and I decided to skip this step. For the first time ever, I made the mistake of using baking powder instead of baking soda. How, you ask? Well, I grabbed and poured things as I went instead of carefully reading my ingredient list and getting measurements together at the beginning. When my cupcakes didn't rise, I felt sick to my stomach. All that time and energy, and they weren't right! They were edible... Heck, they were still delicious, but they weren't as good as they could have been. I won't make that mistake again. I'm utilizing the Measuring Cup Set, the Measuring Spoon Set, the Easy Read Measuring Cups, and the Cutting Board here.

To save on dirty dishes, I beat the eggs in a Stainless Mixing Bowl and add everything to them after they're beaten. Perhaps that seems obvious to those who have baked a while, but it was a novelty when I realized I was dirtying one less bowl by doing this. See the Stainless Whisk? It never gets things stuck inside! Nor does it rust. Or bend. Or come apart. Or change at all. I allow the butter to melt in the 1 1/2-qt. Saucepan from the Executive Cookware Collection while I prep everything else. The Mini Mix 'n Scraper is in the pan, and notice it's not melting. Ah, I love our Silicone Scrapers!

This is Clean Jenny's Pantry Day. I finished off a bag of mini chips, a bag of regular chips, a bag of chocolate chunks, and a bag of toffee pieces. Hi, I'm Jenny, and I'm a genius.

How about this?!?! Don't you just want to eat all the batter? Trust me - it's good. I took my frozen crust from its foil and placed it in the Deep Dish Pie Plate because I needed Stoneware results and a beautiful presentation. If you've never used stoneware, let me tell you that you're missing the boat. This crust is going to be perfectly baked and flakey all around because of this dish's even heat distribution. I could go on and on, but it would take a long time to tell you just how fabulous this stuff is. The Mix 'n Scraper gets every bit of batter out of the Stainless Mixing Bowl to prevent waste, and then, well, I "clean" the scraper myself.

I really am thankful to have found this recipe. It's good to have a go-to in your arsenal that can easily be thrown together with basic staples. This is assuming, of course, that frozen pie crust is a staple in your house. It's not? Well, that's just a bad life choice.

Like the products you saw used?
Shop Online 24/7 at pamperedchef.biz/jennylyn
E-mail me: chefjennylyn[at]gmail.com
Call me up: (205) 585-2464


Thursday, June 2, 2011

Pecan Pie

I grew up hating pecan pie, but then my sweet friend Julie hosted a December Pampered Chef party and served this. Um, it changed my life. She told me it was a great recipe, but I figured it would be much like the others I'd had... dark, gooey, over-the-top sugary, gross. But no. This is a light, beautiful pie with just just the right amount of sweetness. It's difficult to describe, so I guess I'd say this is the pecan pie for those of us who hate pecan pie. Besides that, this is the simplest recipe I've ever prepared. Read below for how ridiculously easy this is!
(In Deep Dish Pie Plate on Cooling Rack)


Pecan Pie
chefjennylyn.com

3 eggs
1 cup sugar
1/2 cup light corn syrup
1/4 tsp. salt
3 tablespoons butter, melted
1 teaspoon vanilla
1 cup chopped pecans
Raw pie shell

Preheat oven to 350 degrees.

Mix all ingredients, and pour in pie shell.

Bake 40 minutes. Let cool completely and set up. (This takes a long time.)


Corn syrup isn't anyone's favorite ingredient to measure simply because it's sticky, messy, and awkward. Until it meets the Measure-All Cup. I have sugar in a Measuring Cup, and my Large Cutting Board is providing my work surface.

See what I mean about the Measure-All Cup? Just pop the corn syrup out, scrape it off, and you're done. This is the best tool for syrup, honey, peanut butter, sour cream, etc. That's going a Stainless Mixing Bowl with my sugar, and then butter is ready to be added from the Prep Bowl. Here's my little trick for recipes that require melted butter: Stick it in the oven while you're working on other things. This means you don't have to heat the stove (in case it's your favorite work area), and you don't have butter popping all over the microwave. Since the Prep Bowls are oven safe, I just put one in while the oven preheats, and I'm pretty much good to go by the time I have my other ingredients ready.

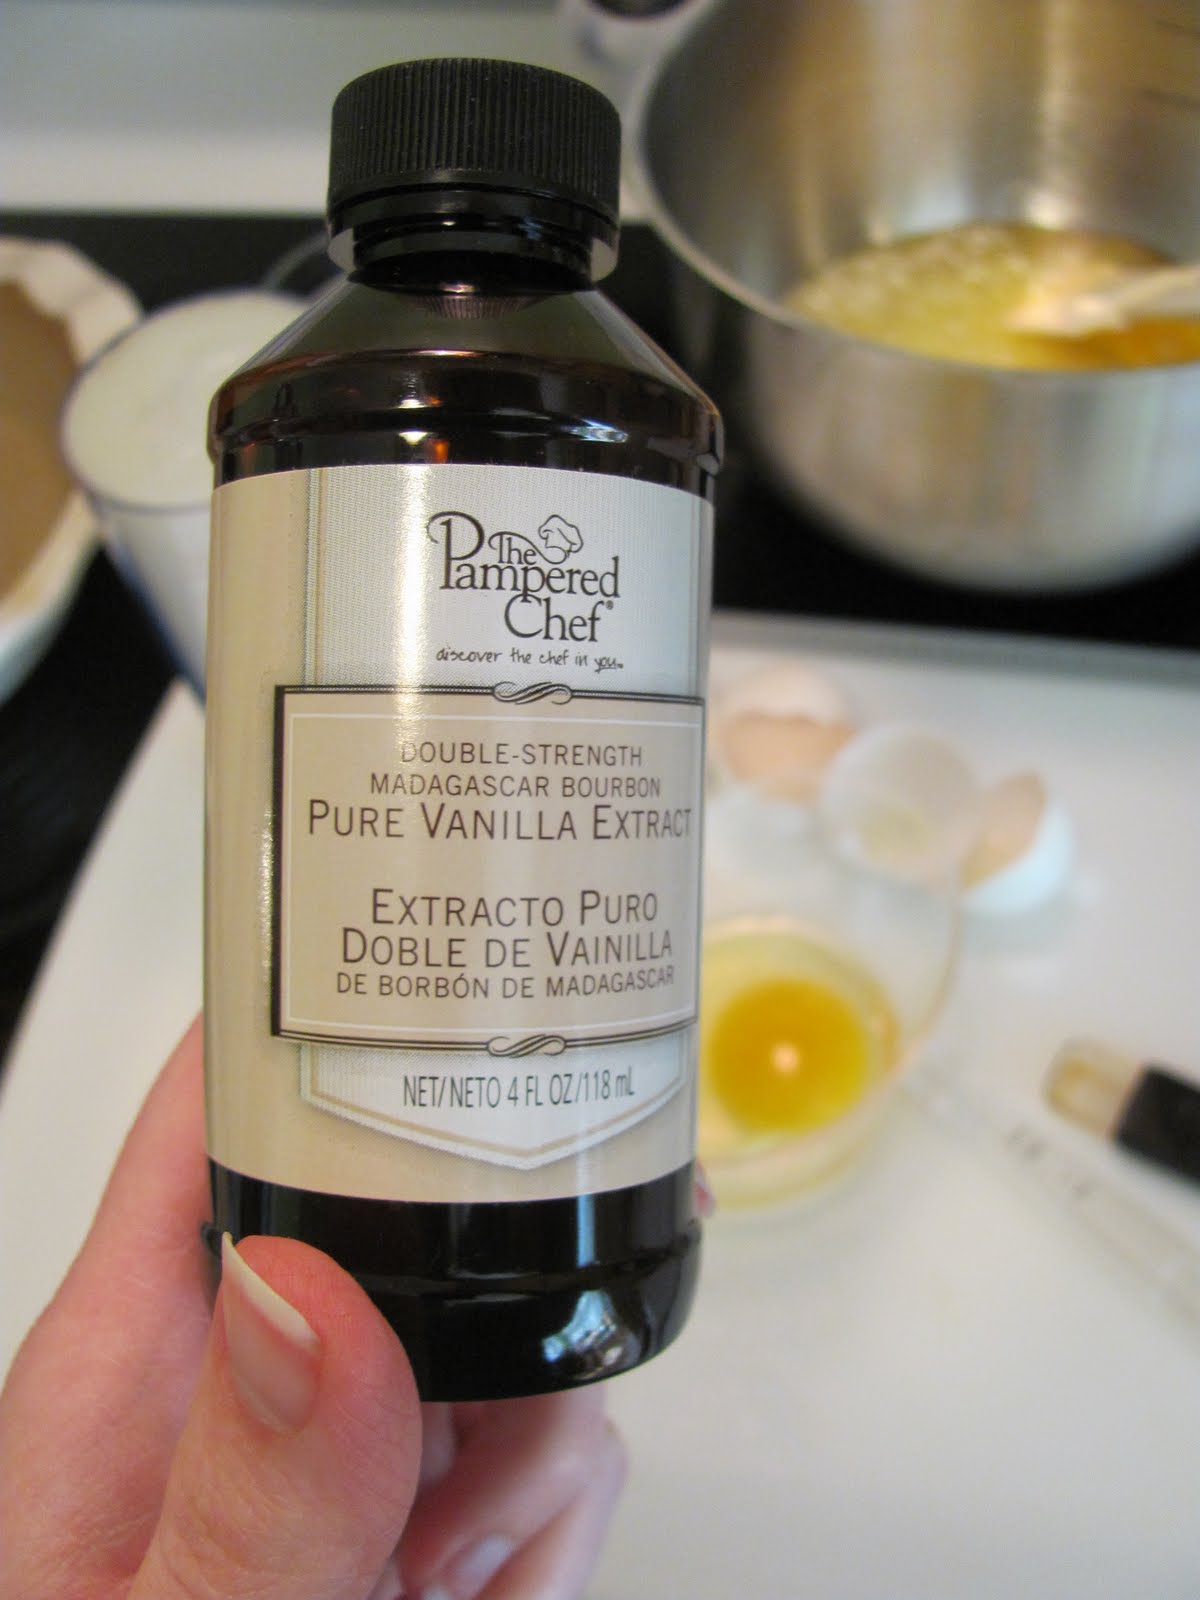
It's taken me a long time to learn that you can make a recipe with whatever ingredients you can find, but you can take it to the next level by using high quality ingredients. Yes, maybe this is something I should have known, but that's another story for another day. Bottom line, this is the best Vanilla in the world. It's double-strength, which means you only use half the amount recipes call for... so 8 oz. worth of vanilla in a 4 oz. bottle! Everything from the Pampered Pantry blows my mind, but this, the Salt, and the Pepper are my favorites. And the Cinnamon. Oh, and Greek Rub... and I'll stop now.

Could this recipe be any easier? Just throw a bunch of stuff in a bowl, and whisk it. I'm using the Stainless Whisk, and the Classic Scraper is in there to make sure I get everything off the sides of the Stainless Mixing Bowl because that means more in my mouth. Look at that Deep Dish Pie Plate just begging to be filled with deliciousness...

Food Chopper. The end. If you've ever used this tool, you know what I'm trying to say, and you understand there just aren't words. I love the Food Chopper. Seriously, this thing is fabulous on nuts, meat, fruit, vegetables, etc. All the pieces come apart and go in the dishwasher, so I'd call that a win. You can use it directly on the Large Cutting Board if you'd like, but I like keeping the cap on when I do nuts. Then I just pour them directly from the chopper into my Easy Read Measuring Cup. It can't get any better.

So about refrigerated pie crusts... just follow the directions, and you're golden. I'm flouring this with the Flour/Sugar Shaker, and I've got it rolled out on the Large Cutting Board. From here, I'll transfer it to the Deep Dish Pie Plate.

The Baker's Roller doesn't get much press, but it's one of those things I'm super thankful for when I need it (like Band-Aids that go untouched for weeks but then deliver when I've done something stupid). In the case of pie crust, you can roll it out with the large end, fit it into the plate with the small end, and shape the edges with the shaping tool. Yes, the shaping tool is that little white thing stuck in the middle. It even stays snapped in when it's in the dishwasher. Then the Deep Dish Pie Plate is ready to go in the oven. This dish represents Stoneware well, delivering crisp, golden crust and even results. Besides, can we say beautiful piece?

So here's the bottom line on this pie: Make sure you're sharing with friends. Seriously, if you don't have a dump plan (the plan that gets food out of your house), DO NOT make this. You've been warned. However, given that you have a fun dinner party or something else where you can bring a dessert, this will make you a hero. Enjoy!

Like the products you saw used?
Shop Online 24/7 at pamperedchef.biz/jennylyn
E-mail me: chefjennylyn[at]gmail.com
Call me up: (205) 585-2464